
Ghee is a shelf stable way of storing butter.
It has been used all over the world for thousands of years.
Not only is it shelf stable, but it also has a higher smoke point than butter.
And that, my friends, makes it perfect for frying without burning.
For a comparison of different fats and what they are best suited for, you can go here.
When I can’t make my own butter, I look for sales on the organic butter at my local grocery store.
I use about 6 pounds at a time when I make it in my crockpot.
Using the crockpot is the easiest way I have found for making ghee.
Crockpots have a low and constant temperature which is exactly what you need.
People always ask, so this is the crockpot I love and use.![]()
The process is quite simple really.
Melting the butter releases the milk solids and water.
As it continues to heat, the water evaporates and the milk solids cook to a golden brown.
Cooking the milk solids gives the ghee a wonderful nutty flavor.
You can use ghee just like you would use butter.
Spread it on toast.
Pop it on a baked potato.
Scramble your eggs in it.
Make a pie crust with it.
Sourdough Cornbread, anyone?
Have I mentioned that you can even use it to fry things?
Ready to give it a try?
Let’s go!

Making Ghee
Unwrap your butter and place it into the crockpot.

ready to start melting
Leave the cover off and turn it to low.
Allow all the butter to melt. The amount of time this takes will depend on how much you are making. I usually do 6 pounds at a time.
After the butter is completely melted, continue heating it on low.
After a while you will begin to have 3 distinct layers in the crockpot. Water, oil, and milk solids, with some sediment at the bottom.
The milk solids will be on the top, so you won’t be able to see the other layers, but they’re there!
The butter needs to simmer long enough for the water to evaporate. That’s why you don’t put the lid on. And you want the milk solids on the top to get a nicely browned.
It usually takes about 8 hours, but it’s taken as long as 12 on occasion.
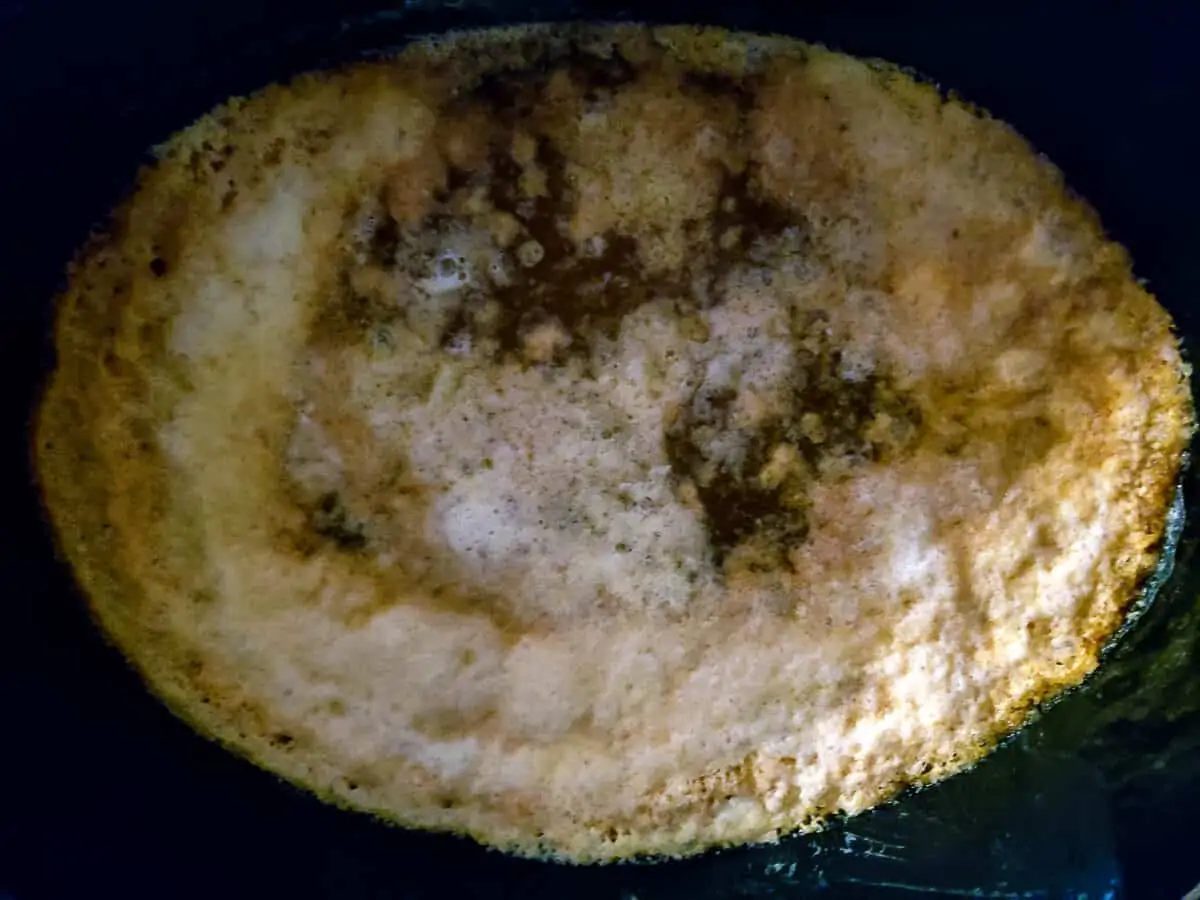
layer of milk solids nicely brownedThe next step is to skim off the solids on the top.

skimming the floaty bits
These floaty bits can be used to butter just about anything you want.
It will have a slightly nutty flavor, just like the ghee does. And if you’ve used salted butter, it’s going to be quite salty.
Now you will be able to see if all the water has evaporated. If it hasn’t continue to simmer the butter until it’s gone.
checking for water
When you are satisfied that all the water has evaporated, it’s time to turn off the crockpot.
Use hot, sterile glass jars with lids to store your homemade ghee.
I, of course, use canning jars.
Pints to be exact. 🙂
Put a couple of layers of butter muslin or use a clean pillow case over the jars to strain out any sediment.
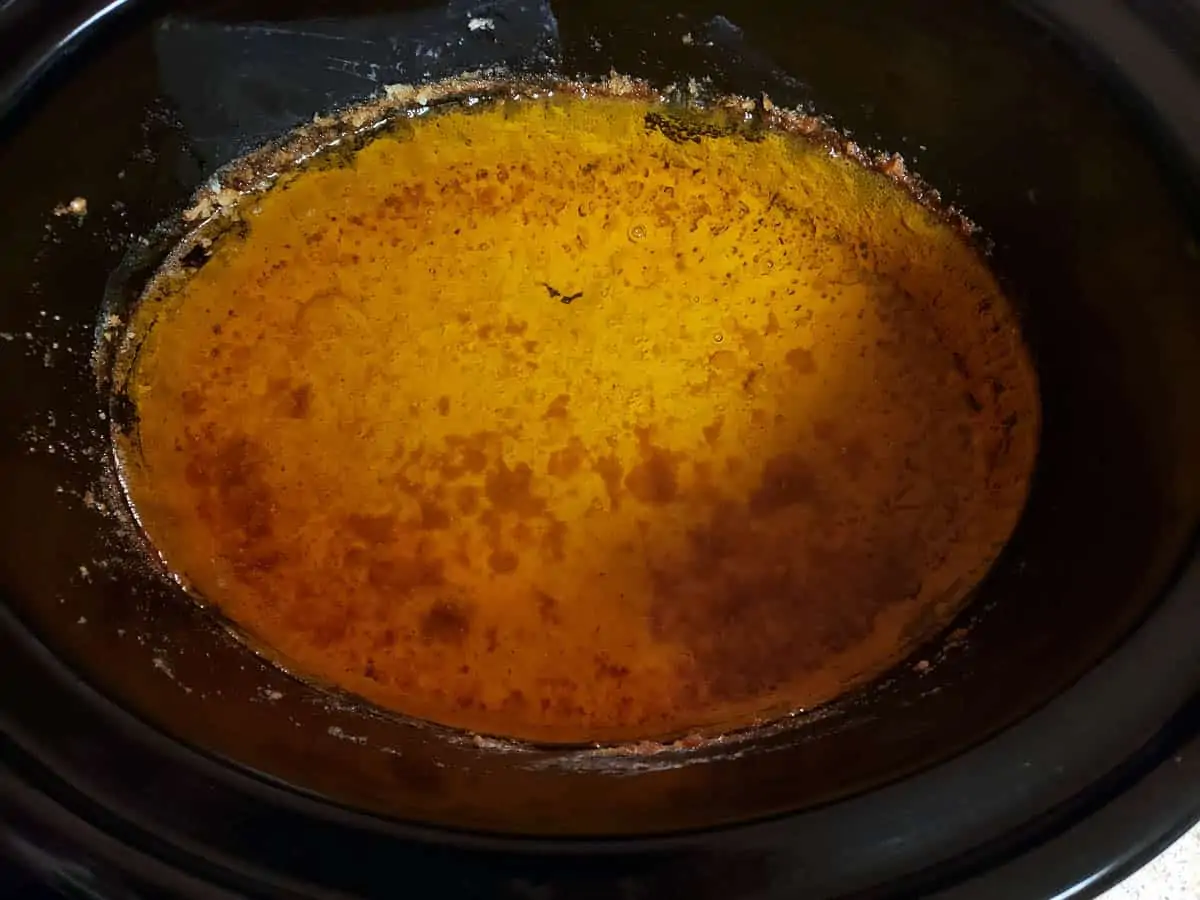
Now carefully ladle out the oil into sterilized glass jars. Try not to disturb the layer of sediment on the bottom.

ladle into the hot, sterile jars
As the ghee cools it will solidify and turn a lovely shade of buttercup yellow.

cooled off and beautiful
Cover the jars loosely and allow to cool.
After the ghee has cooled completely, put the lids on the jars tightly.
Ghee can be stored at room temperature for 2 to 3 months, depending on your room temperature.
It can also be stored in the fridge or in your food storage area for up to a year.
So next time you are making chicken fried steak, or making a sourdough pie crust, give ghee a try and see how you like it!

Leave a Reply