 Don’t you love getting new plants? You can’t wait to display them, except you have that little plastic plant marker. I don’t know about you, but I hate that plastic plant marker. It’s so ugly! So, with that in mind, I decided to look up alternative ways to pretty up my new plants!
I stumbled upon some cute looking, vintage silverware plant markers and I just knew I had to try it out. Only, I didn’t have any vintage silverware, so I knew I would have to rough it up myself.
Pin for later

Here’s what you will need for not-so-vintage plant markers:
- Forks

- Sandpaper
- Sharpie
- Paint brushes
- Gloss polyurethane or Mod Podge
- Paper towels
- Brown and gold paint or paint markers
- Whatever paint you choose to decorate with

all the supplies
First you will lay out your forks and paint a thick coat of brown paint over both front and back.

first coat of paint
After that dries, you will paint over the brown with gold paint. I used a sharpie paint marker because that’s what I had available.
with second coat of paint
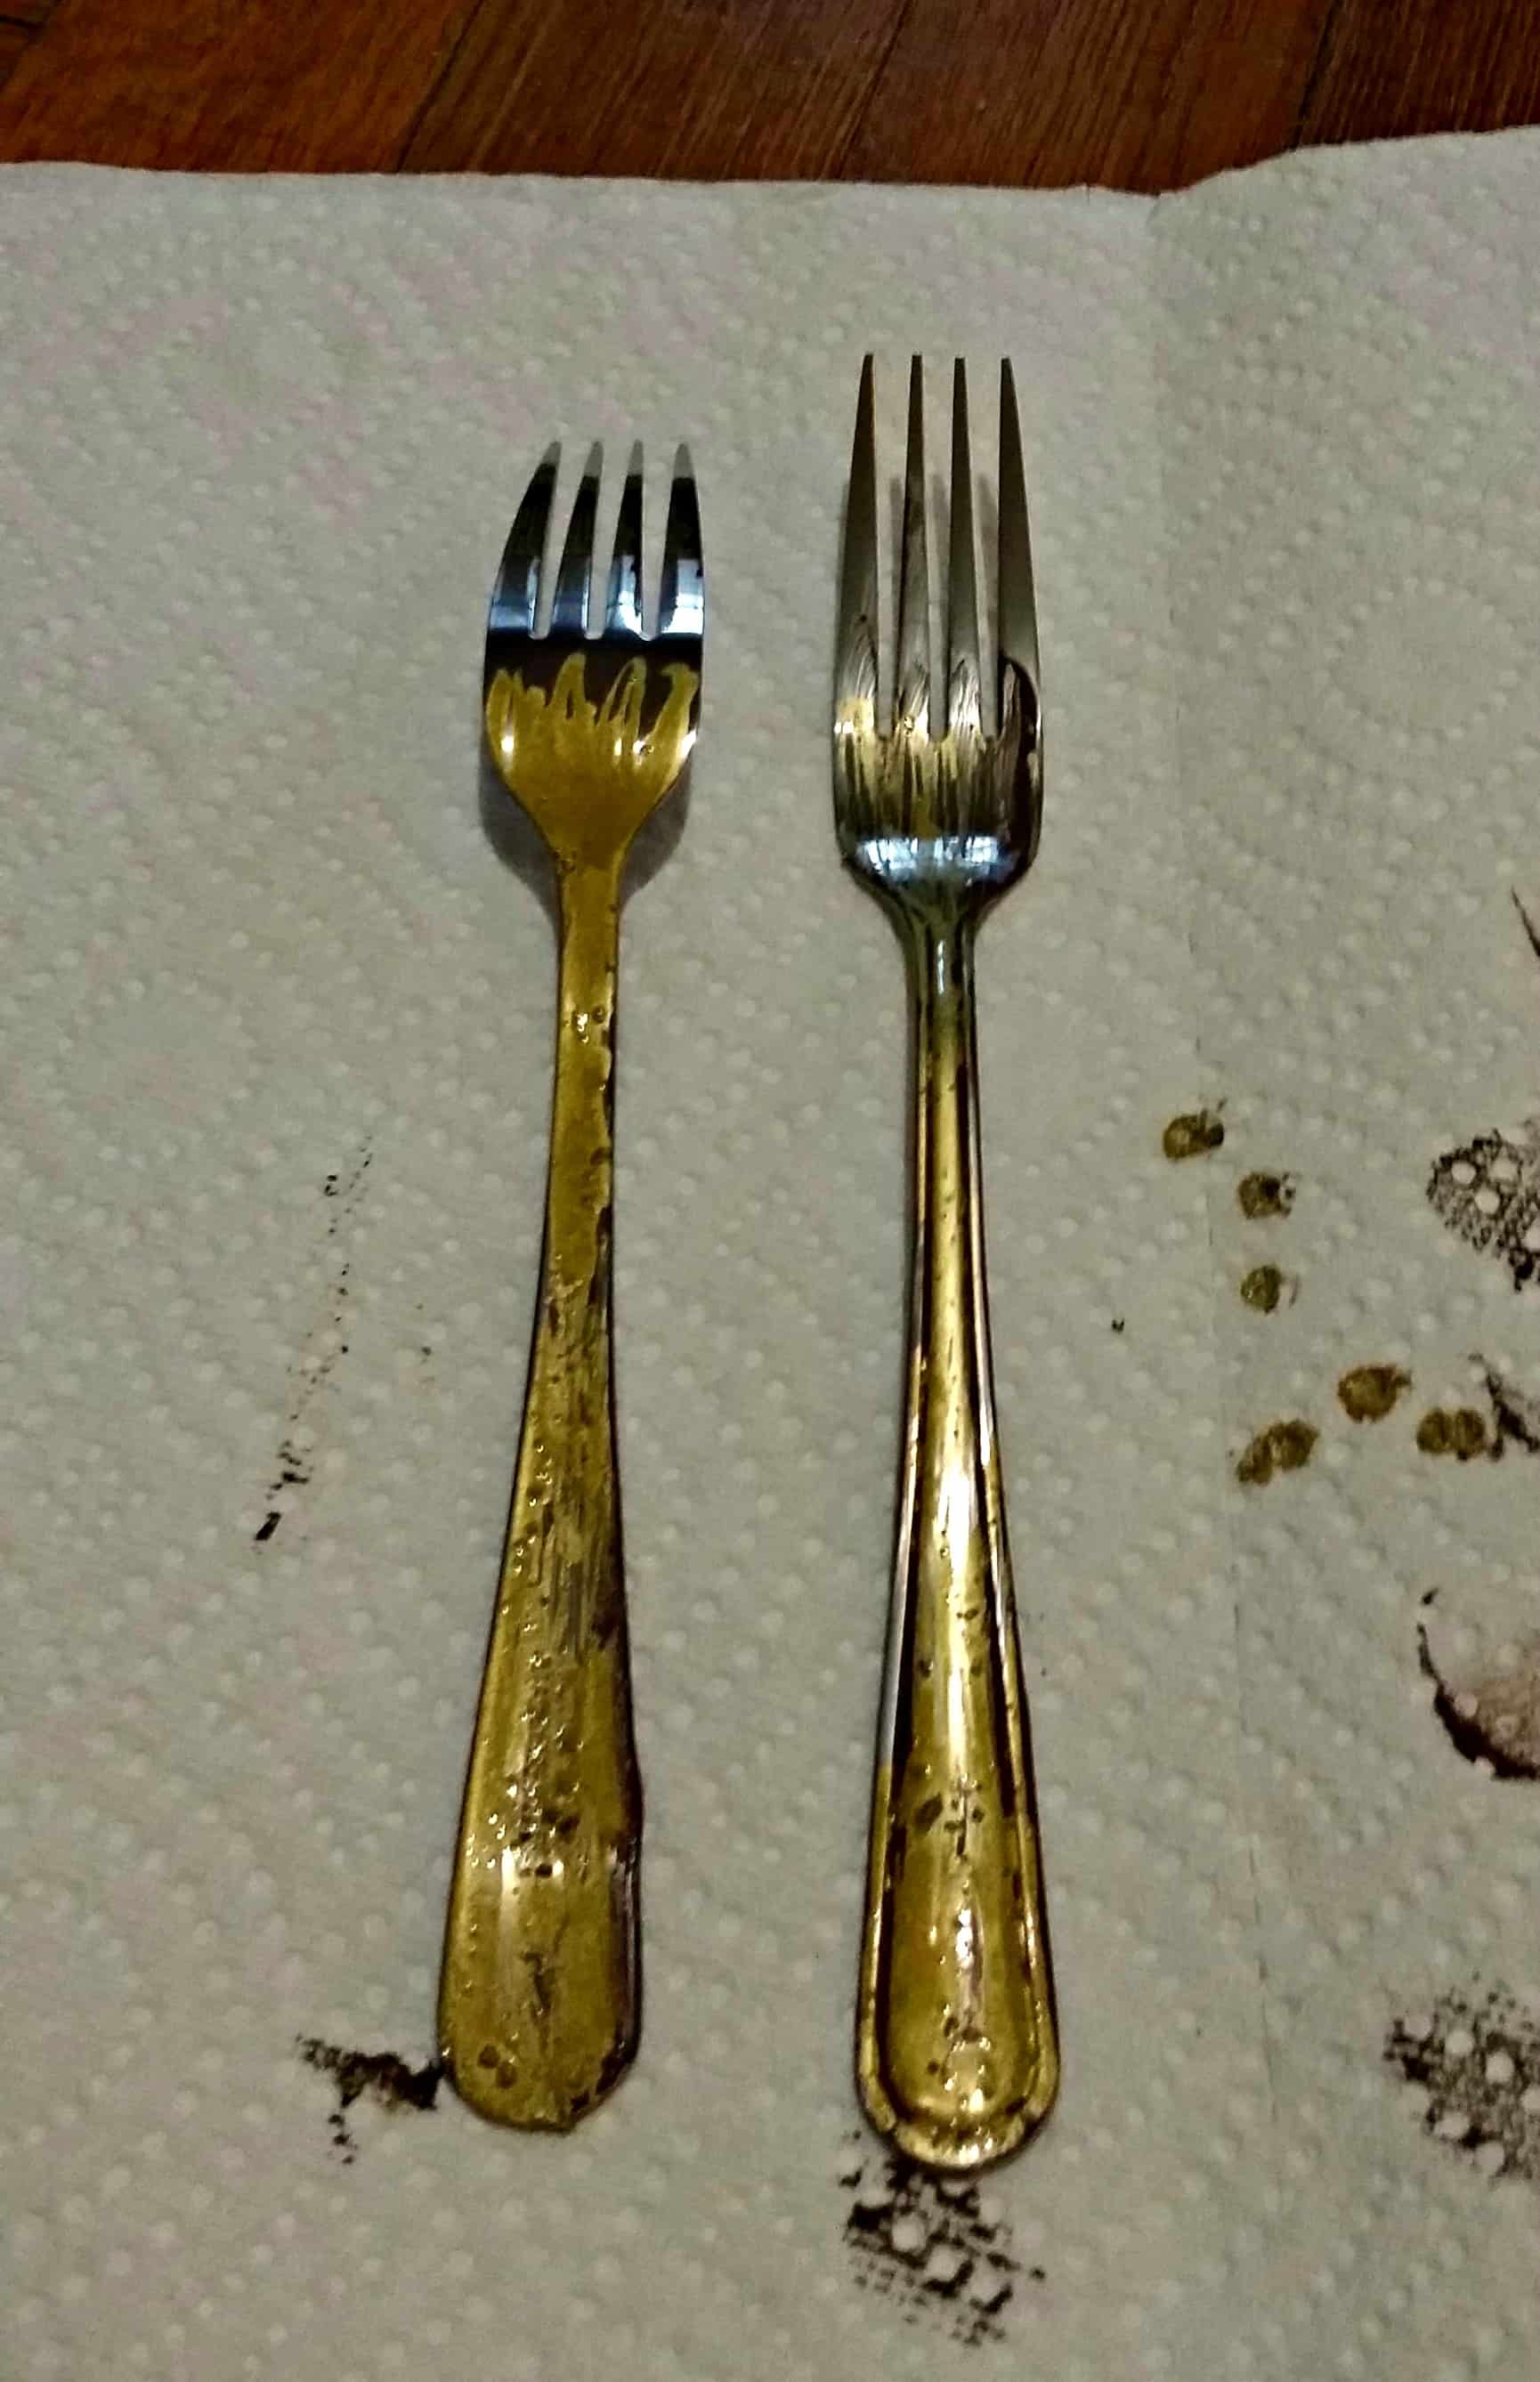
When the paint is fully dry, you will use the sand paper to sand off the some of the paint. Don’t sand too much, you still want to be able to see the paint in the grooves of the forks to give it that “vintage look”.

then you sand them
Next, you will paint (your choice of color, I chose white), the handle of the fork. Just the front side.
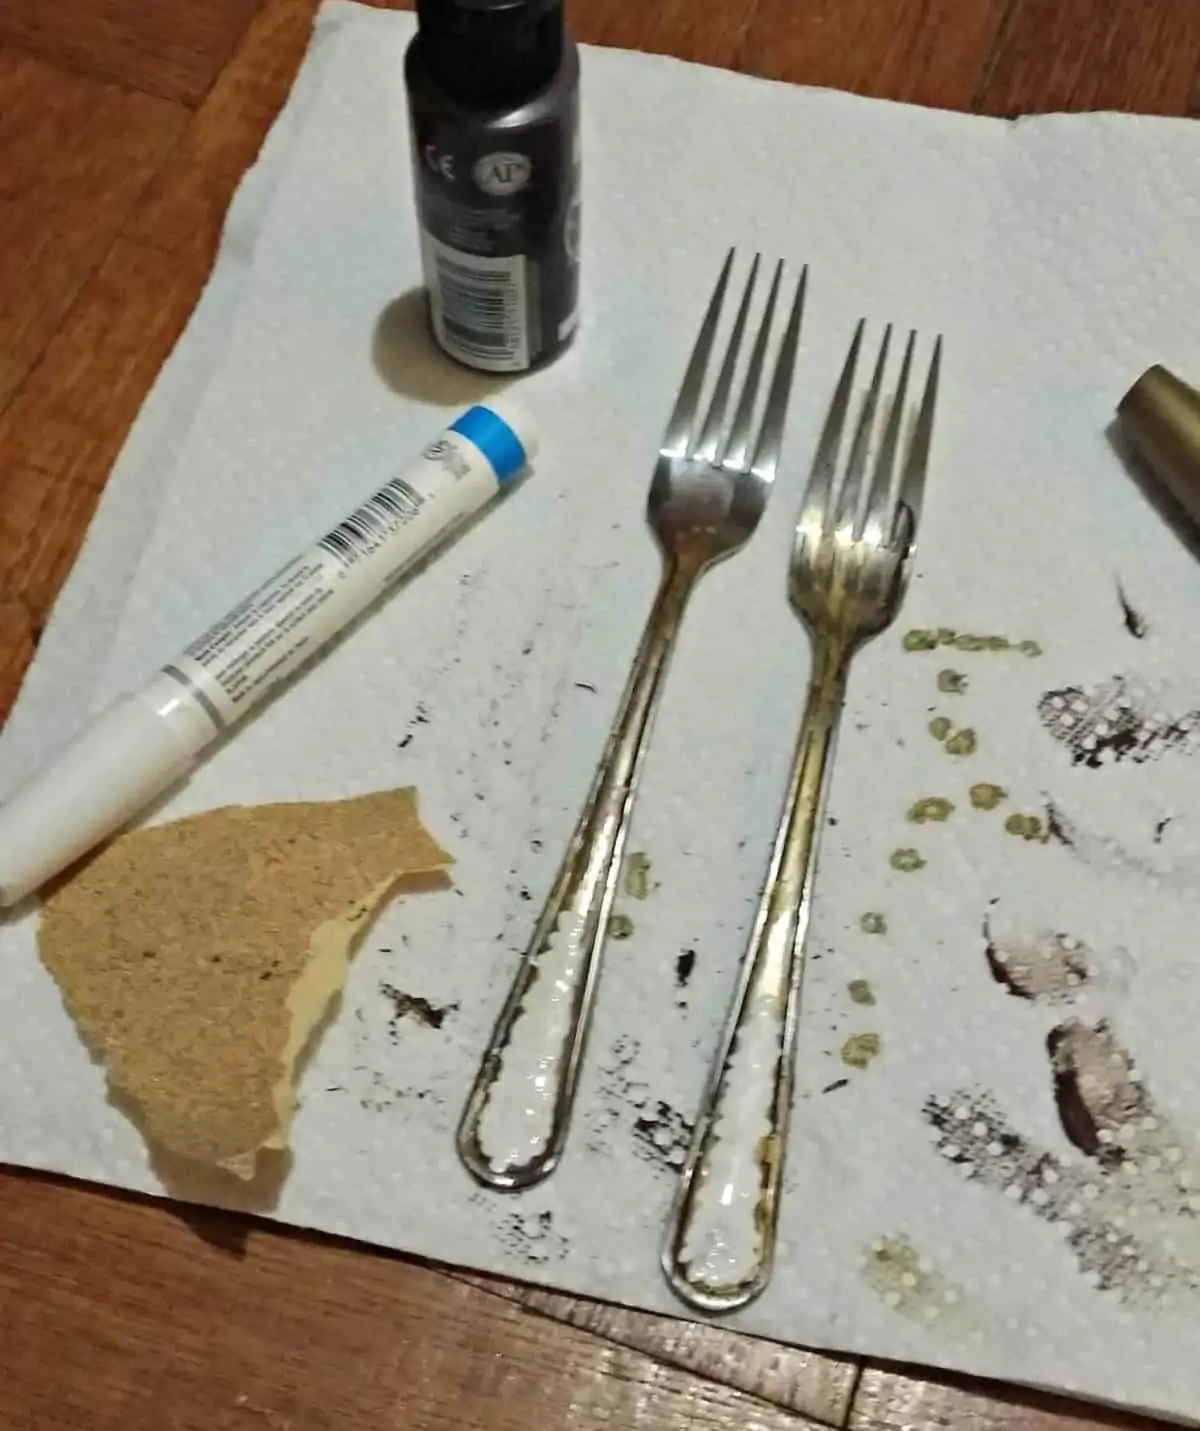
then put on the white paint
Once that dries, you can use the sharpie to write out the plant’s name. I also used colored sharpies to add some polka dots for some added fun!

then name them
For the last step you will put on a coat of poly to seal the paint.

and finished
And there you have it, fun plant markers that are easy to do!
What are your favorite plants?
More DIY projects you should try:


I Love Vintage says
Great site, excellent articles. so interesting I will share this blog with friends.
perfectly written site !
Cery says
Thank you for your kind words! It’s much appreciated.
Pamela says
Oh wow I love those!!! Thanks for sharing !!!
Cery says
Hi Pamela! I’m so glad you like them. We had fun making them. Blessings!