 Since I live in an apartment in the big city, I don’t really have any room for a garden.
Which is very sad because I love all things green, and all this brick and concrete is giving me a headache!
When I came across pictures for a fairy garden, I instantly fell in love!
It can be any size you want it to be, and it’s a great way to express your personality, not to mention such a space saver when it comes to plants.
Before we dive in to this awesome project, I would like to mention a little side note.
When using things from the outdoors like twigs, leaves, etc., don’t take them from living plants.
Find twigs from the ground, same with leaves, and then go purchase some plants so you don’t uproot then from their home. Thank you!
When deciding what you are going to use for this project, you really need to know what space you have to work with and your budget.
You can make giant fairy gardens with all kinds of little houses and knick knacks, OR, you can have a tiny little garden for your window sill with maybe just a cute little gnome statue.
Either way works!
That’s the best part of this project, you can do ANYTHING you want! I
t’s so flexible and can be made to fit your personal style. So here is how I made mine…
Pin for later
What you need for your fairy garden
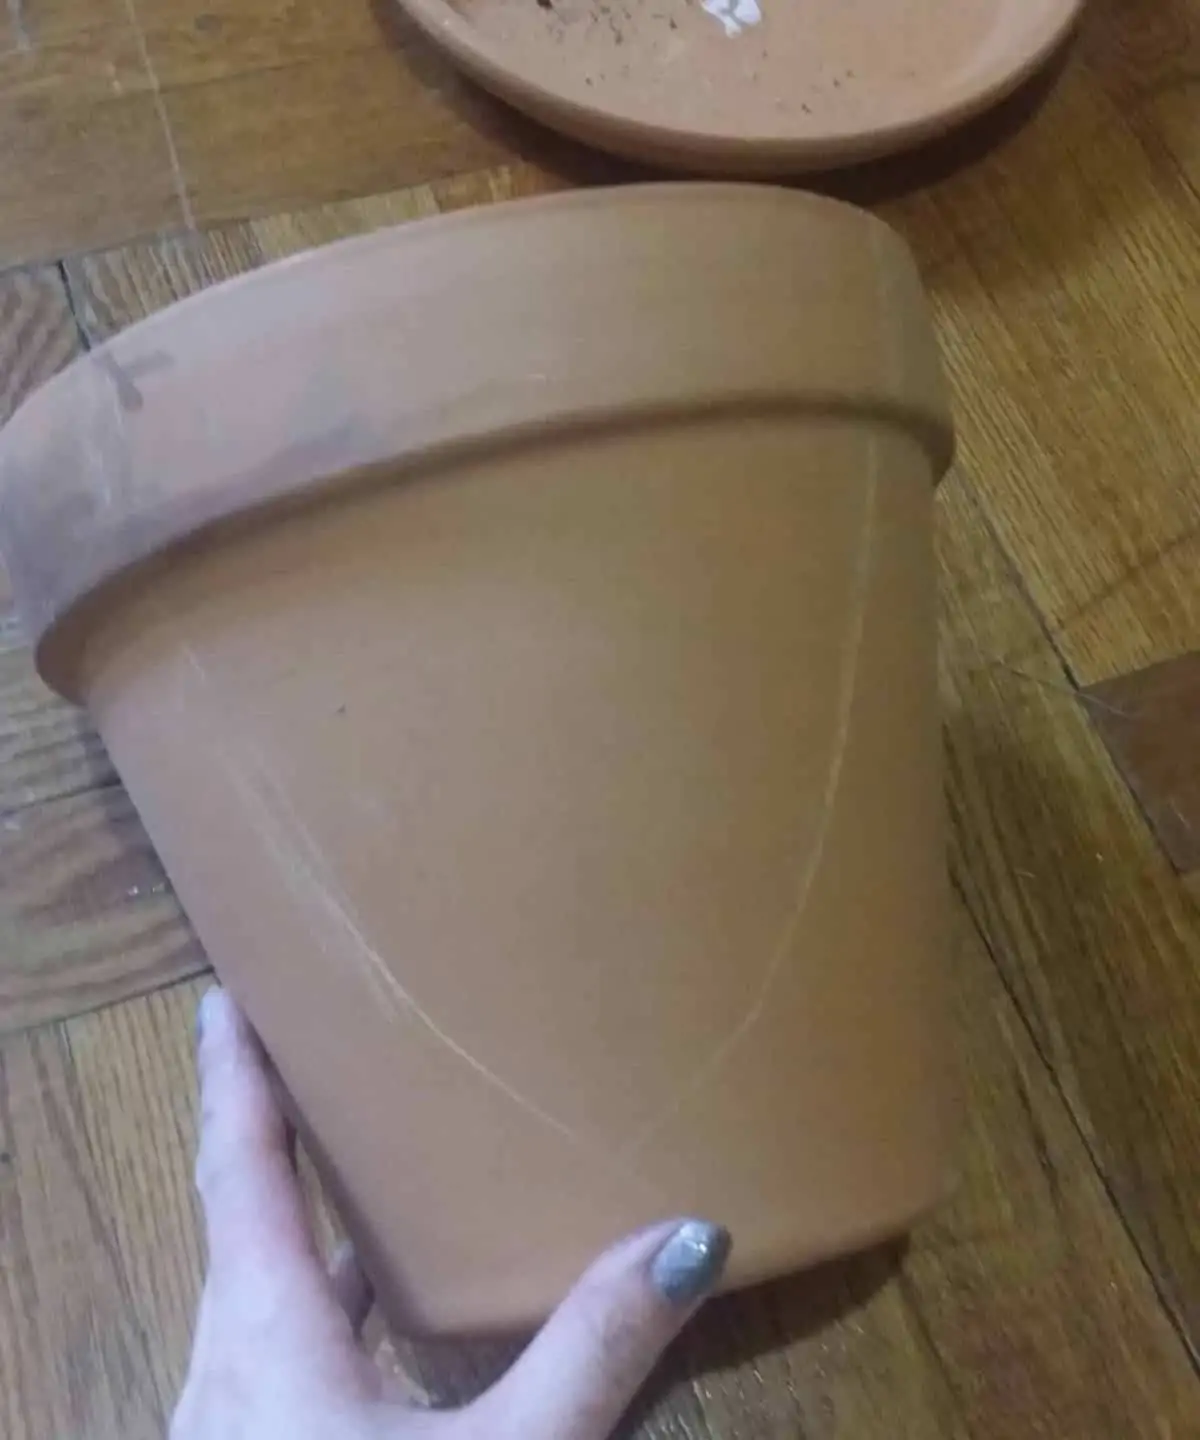
- Terracotta pot
 -can be already broken
 - Terracotta pot plate
- Twigs
- Succulent picks
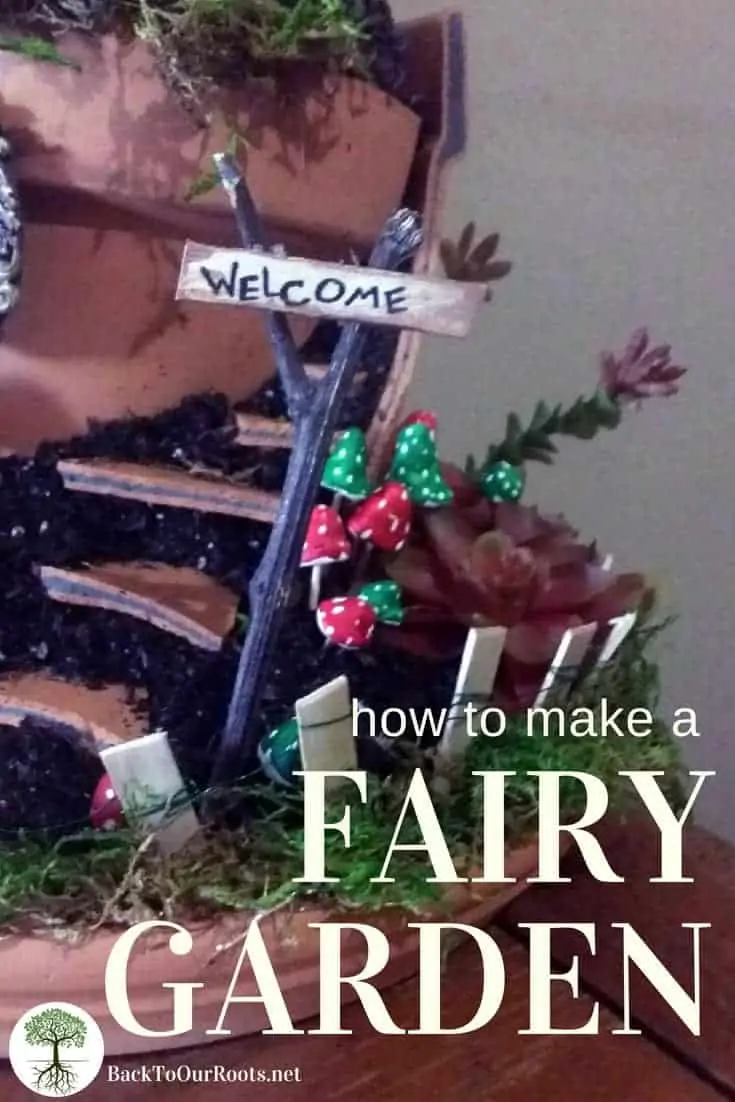
- Hand crafted mushrooms
- Potting soil
- Box cutter
- Moss
- Wire
- Popsicle sticks
- Extra knick knacks

everything you need for your very own fairy garden
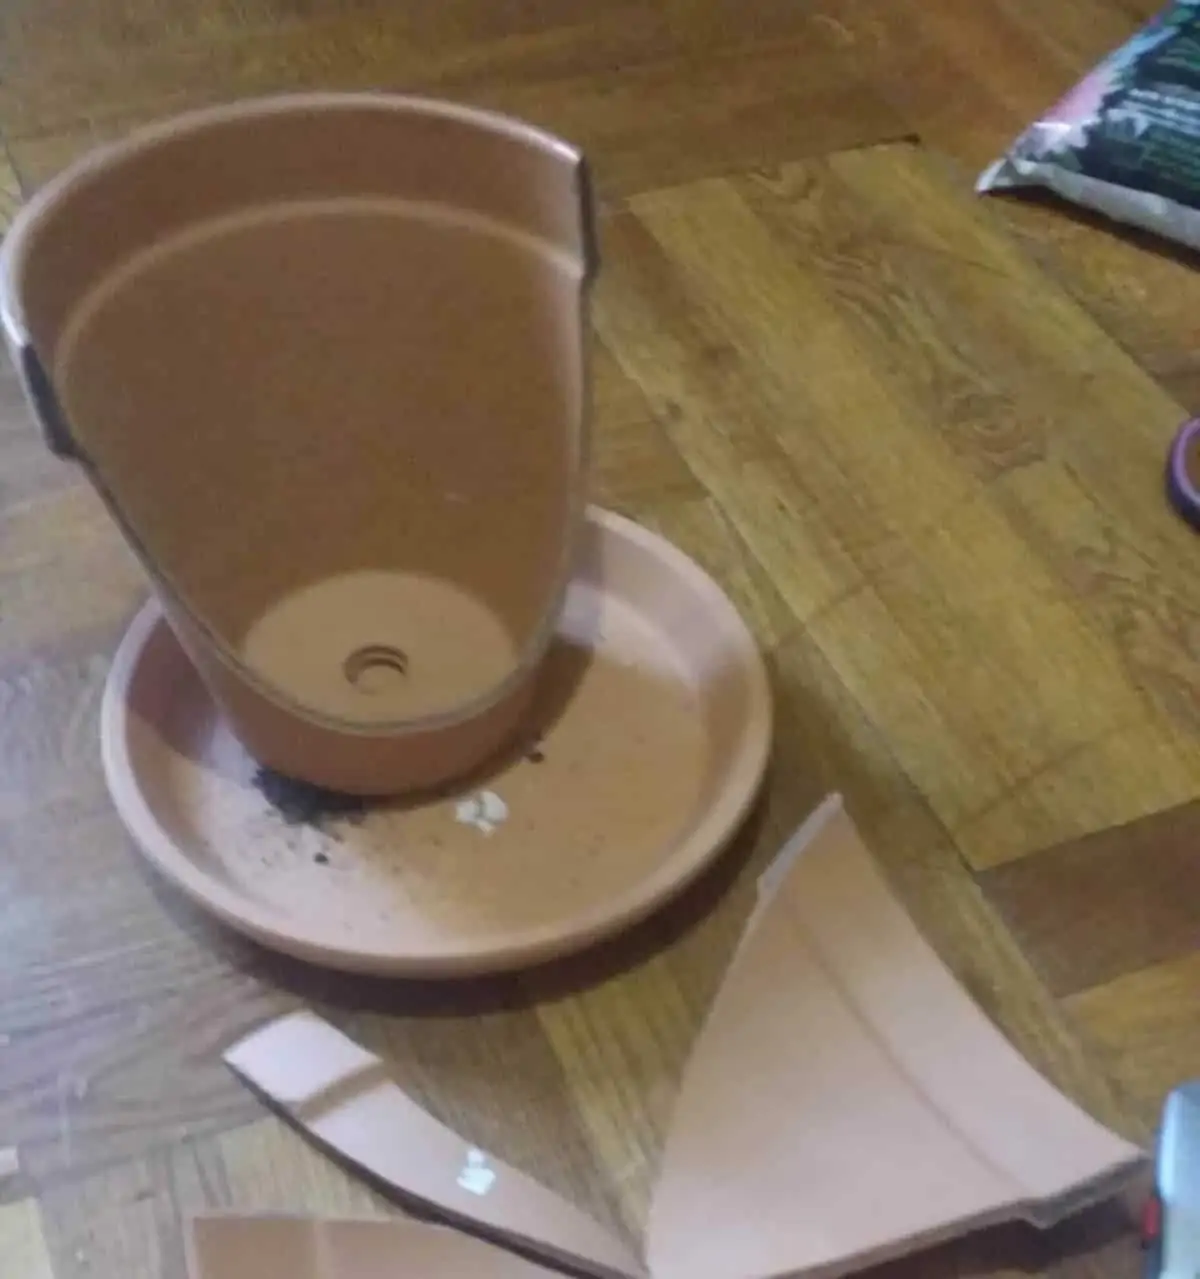
Cutting the pot
So first off, what you will need to do is use the box cutter to cut a triangle shape into the pot.
You don’t have to cut too deep, just enough that there is a visible mark. This will help you make more of a clean break.
Once you have the etched break line, you can use a small hammer to lightly tap on the mark, causing the pot to break.
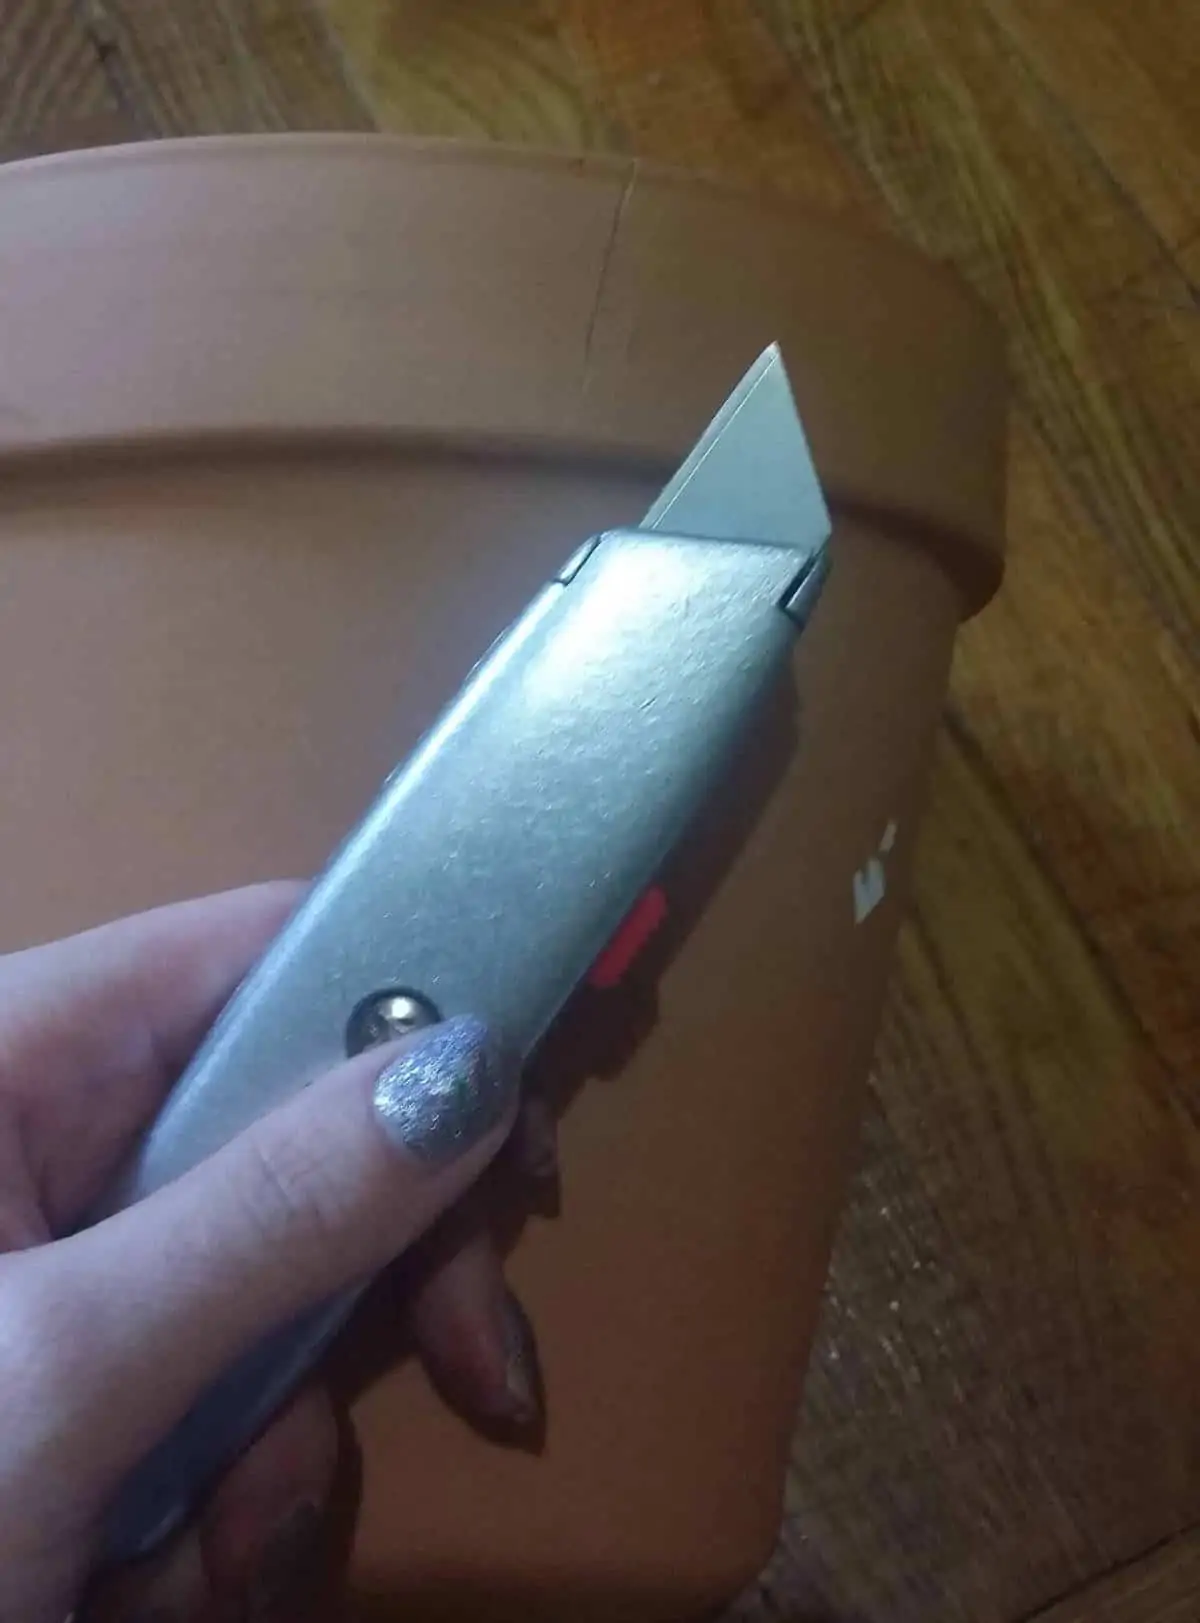
use a knife
etch the pot
tap with hammer
Once you have broken this part, you can use the hammer to further break the piece you took out so you can use it for stairs.
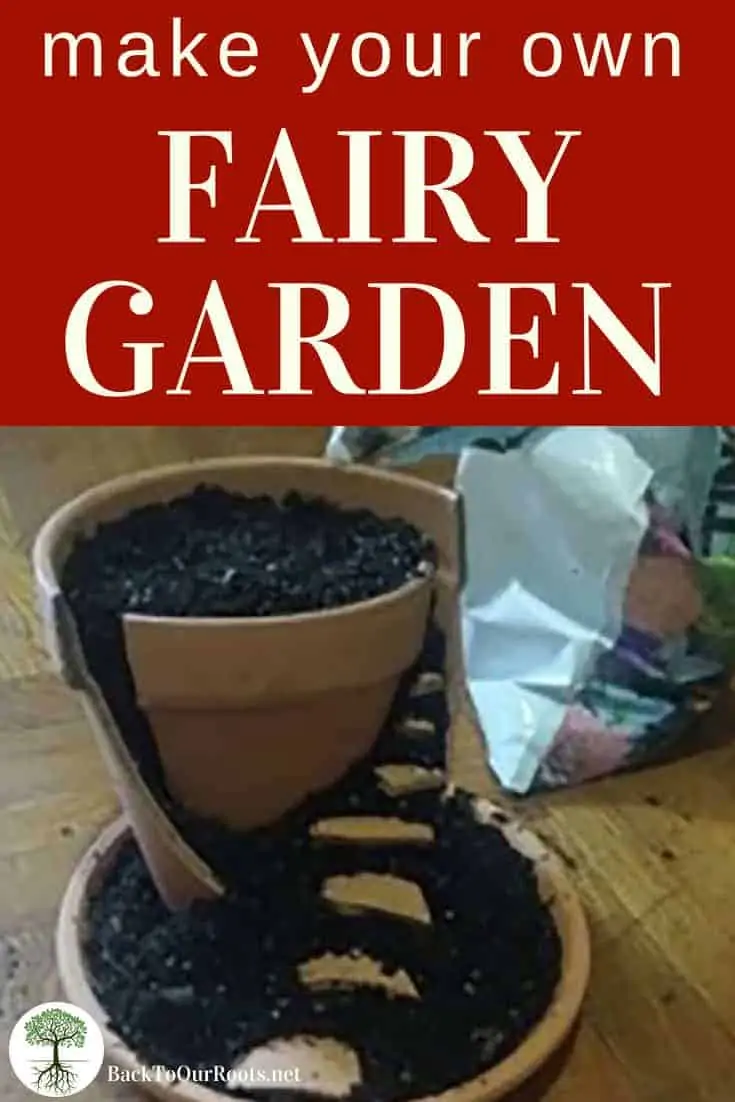
Filling the pot
Once you have broken all the pieces you need, start filling your pot with soil.
Make sure you pack it pretty well so that whatever you put in your garden won’t fall over.

put in some dirt
Continue to pack the soil and add your broken pieces where ever you desire.
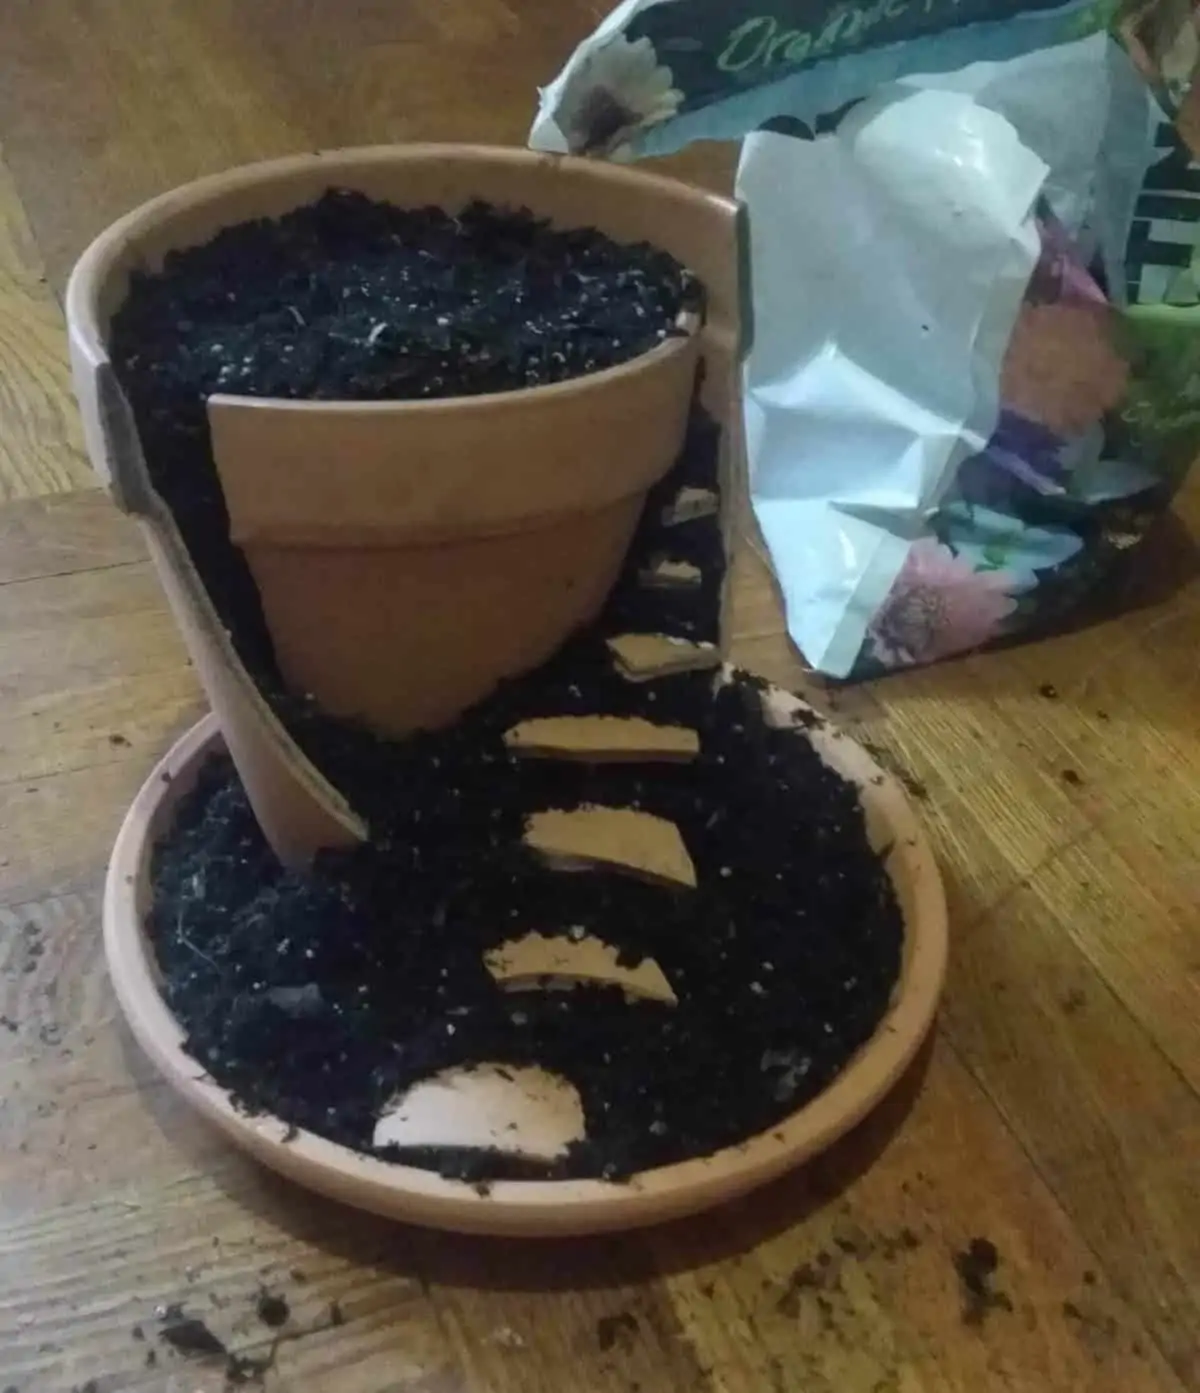
fairy stairs
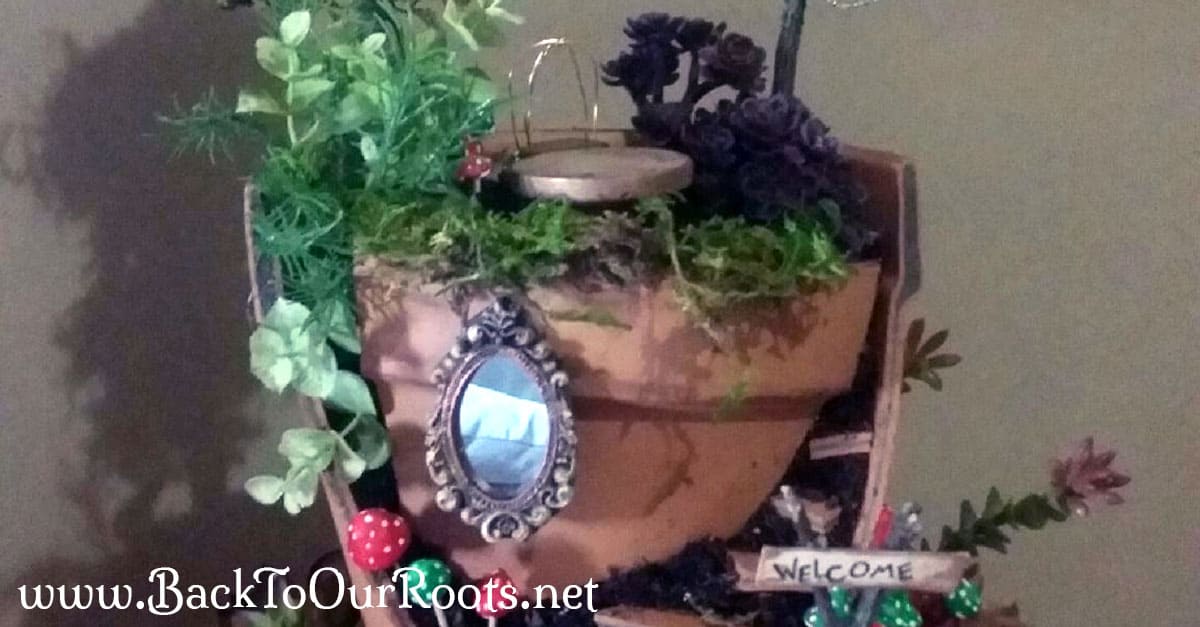
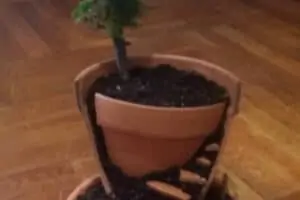
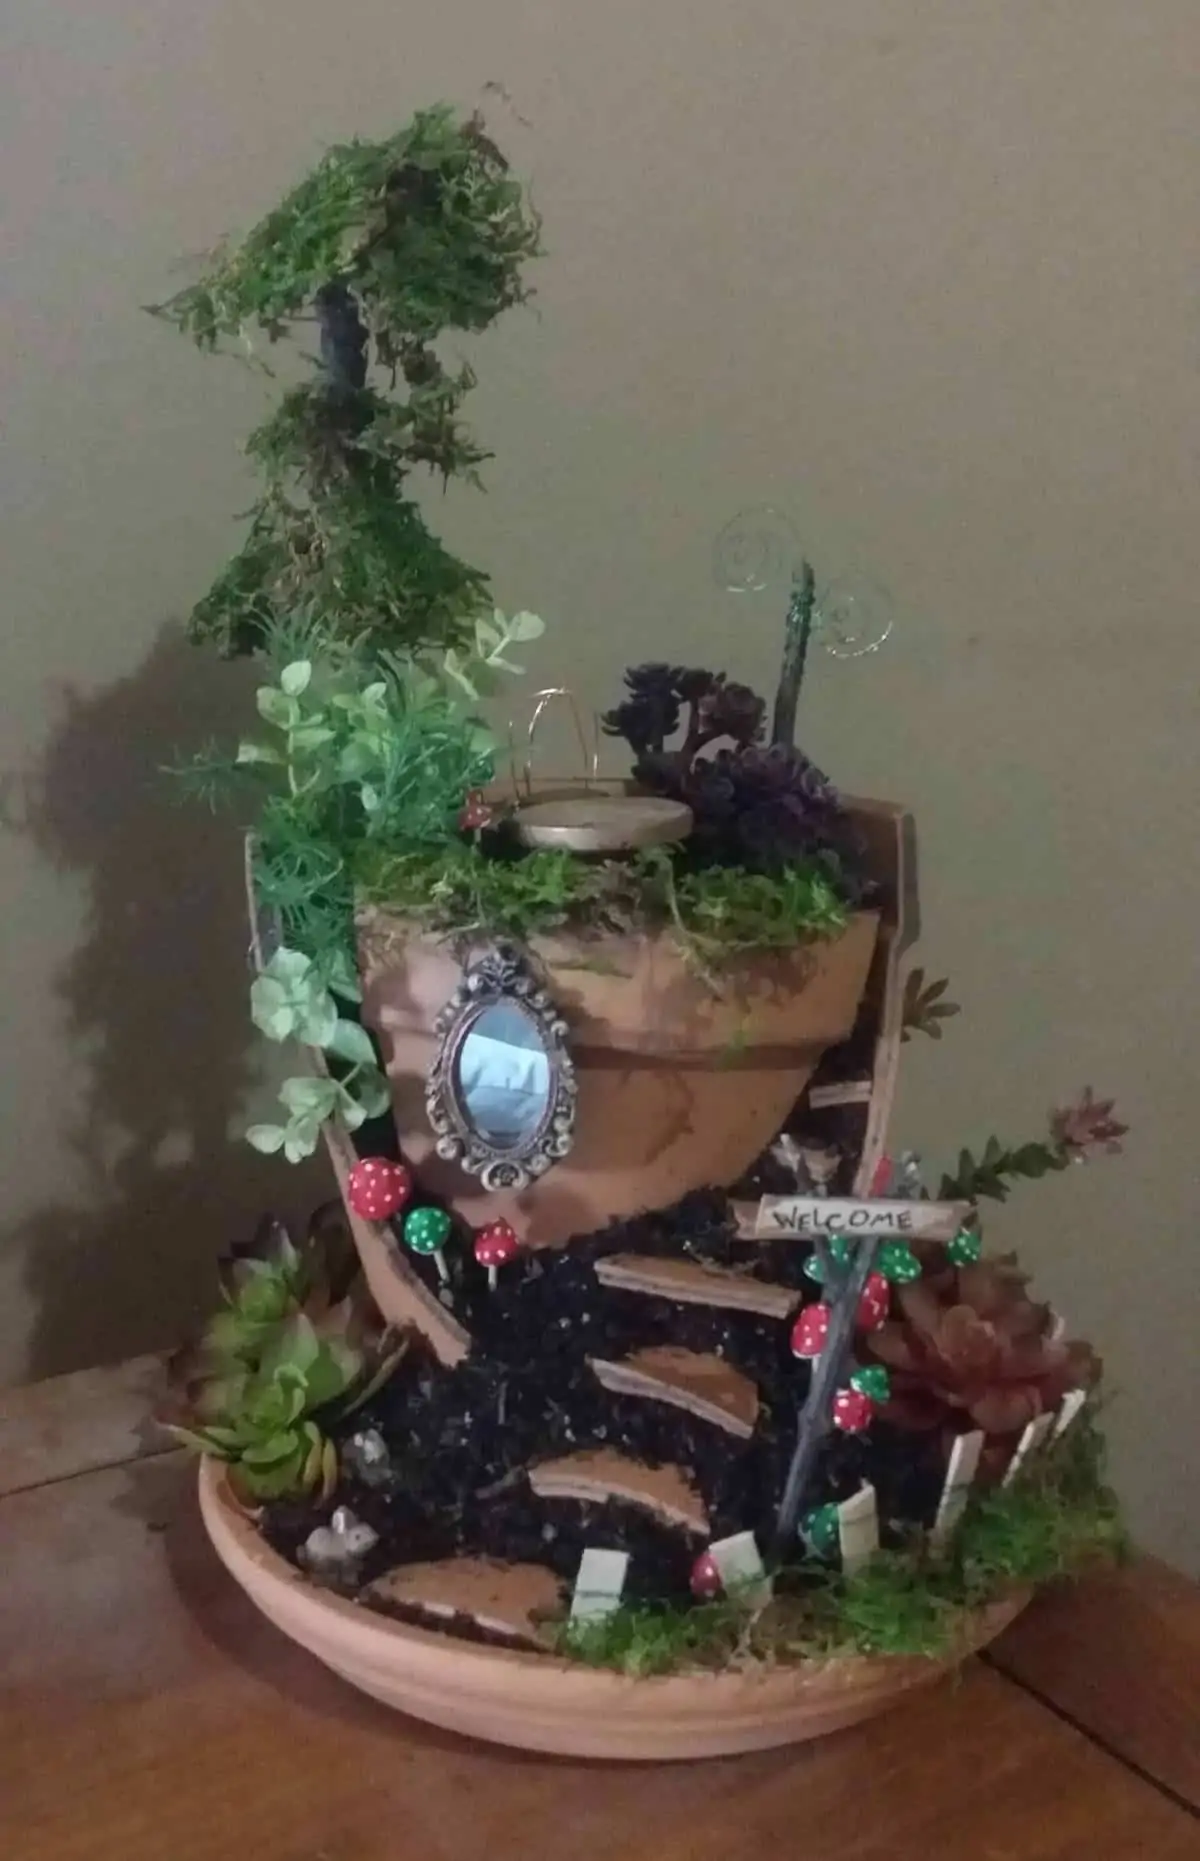
Making the Fairy Garden
After your pot is packed tight and your broken pieces are secure in their position, you get to start on the fun stuff!
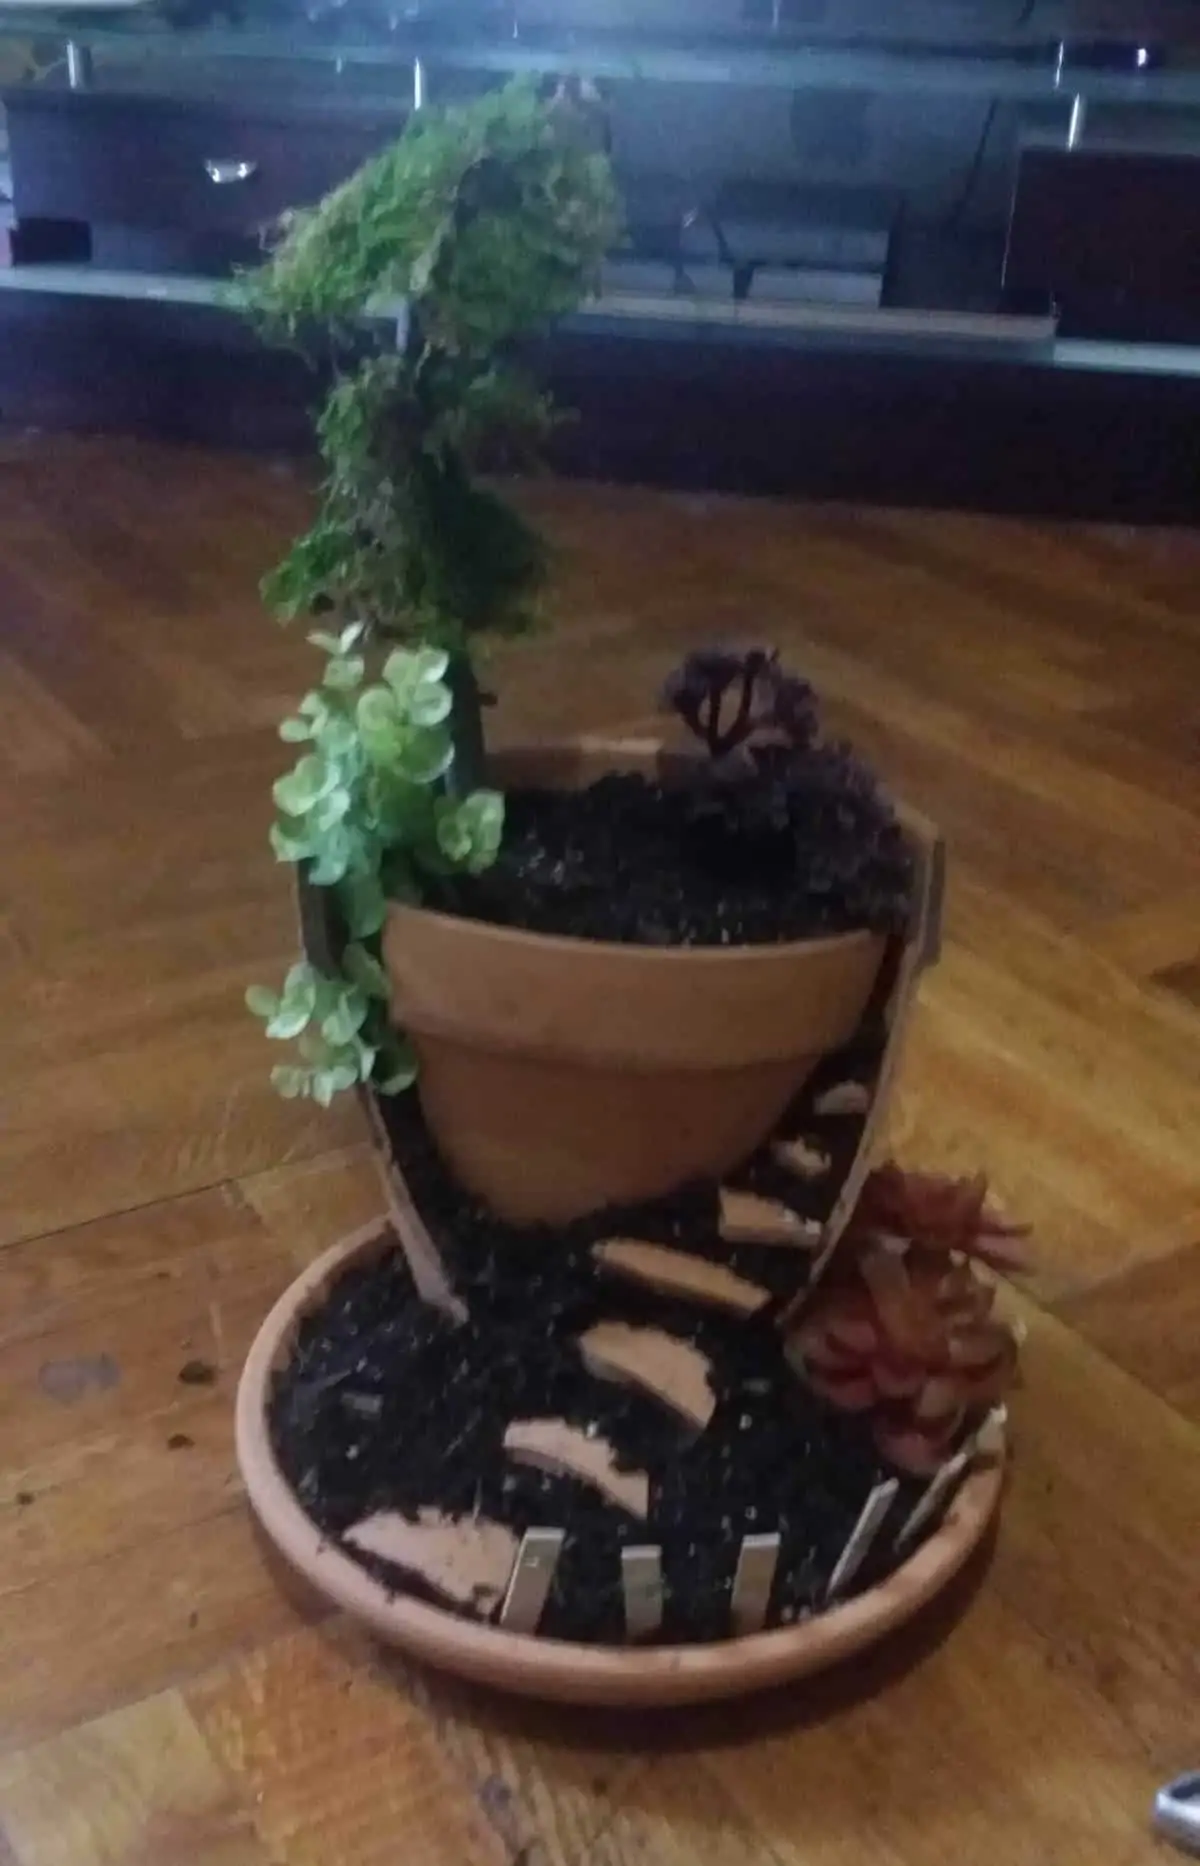
This is where you get to start making your garden unique! What I did first was make a “tree” out of a large stick that I glued (store bought) moss around.
Then I added a fence to the bottom that I made by breaking some Popsicle sticks and twisting wire around them.
treed and fenced
Next I arranged the succulent picks. Considering I have a horrible black thumb, I went with fake plants. But these are great for live plants, too!
now with plants
And I just kept adding…

and more…

…more…
…still more!
I made the mushrooms with some clay on a toothpick and painted them. Which I thought really stepped up the “fairy” style!
I made a cute little chair out of a bottle cap and wire, and a table out of an empty thread spool and a random piece of wood from my craft box.
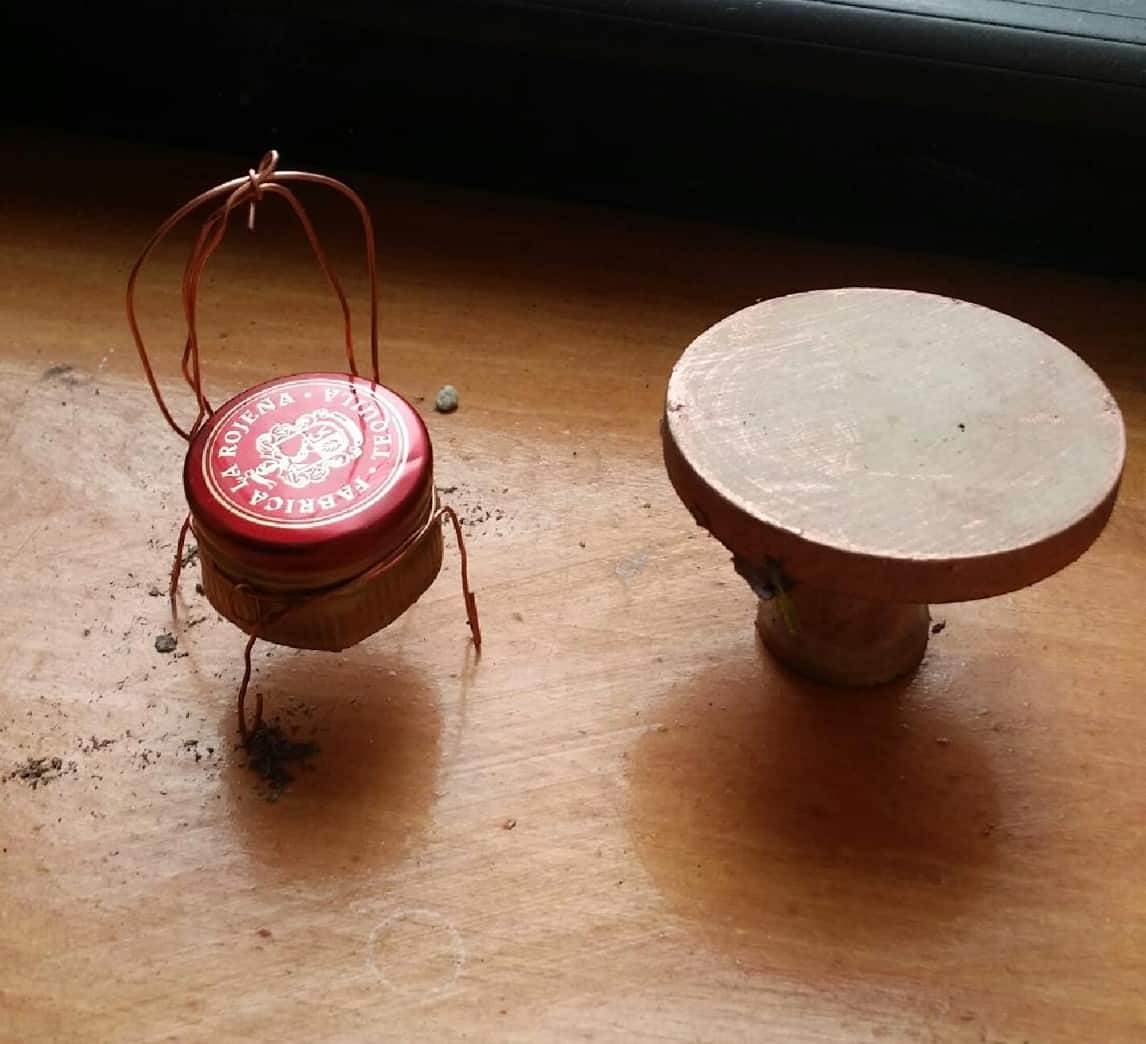
tea-table for the fairies
After I decided I was happy with everything, I added the cute bunny figures I bought from a craft store and called it good!
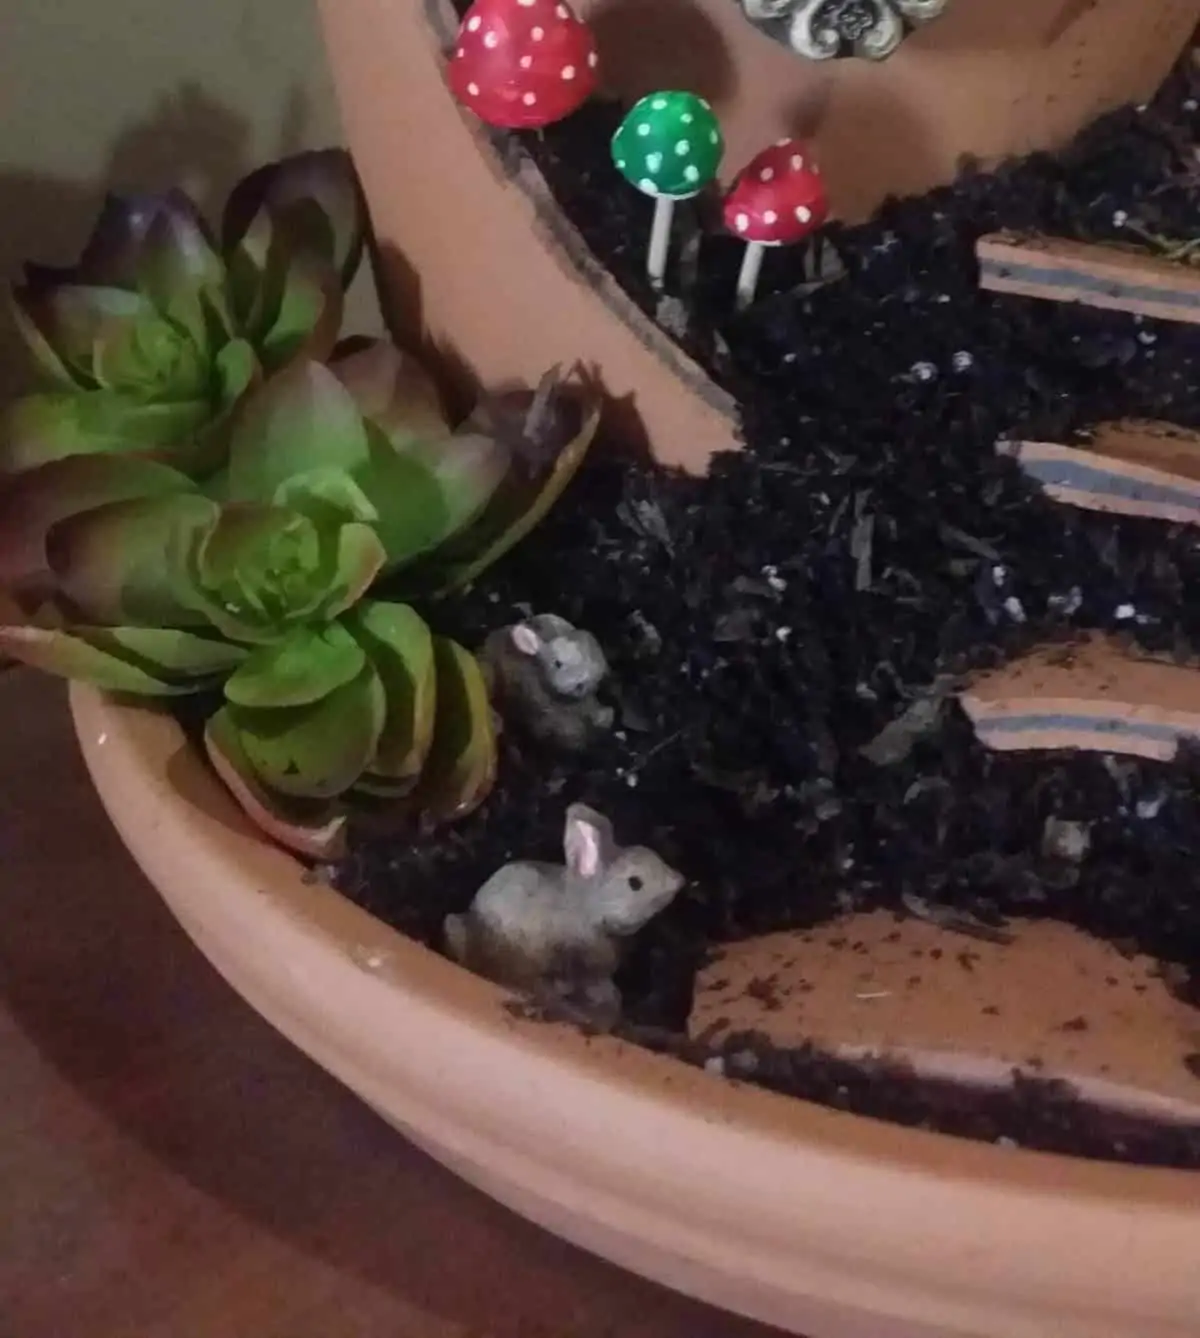
bunny friends for the fairies
This was so much fun to do, and I will probably be doing it again!
Like I said, this is all about whatever you want to decorate it with. So get creative and really let your personality shine through!
Go ahead.
Make one.
You know you want to. 🙂
And if you do make a fairy garden, please share and let us know how you did it!
Thanks y’all!
More cool DIY stuff you should make:


Leave a Reply