My favorite salad in the whole world is the Greek salad from Panera.
When I decided to stop eating out so much, I really, really, missed my weekly Greek salad fix.
So I decided that the thing to so was to figure out how to make it at home. Cuz that’s how I roll.
The first step for me was the cheese. I was already making most of my own cheeses, so why not make Feta as well?
As it turns out, Feta is one of the easiest cheeses to make at home. It takes a little bit of time to age, as most cheeses do, but it’s so worth the wait!
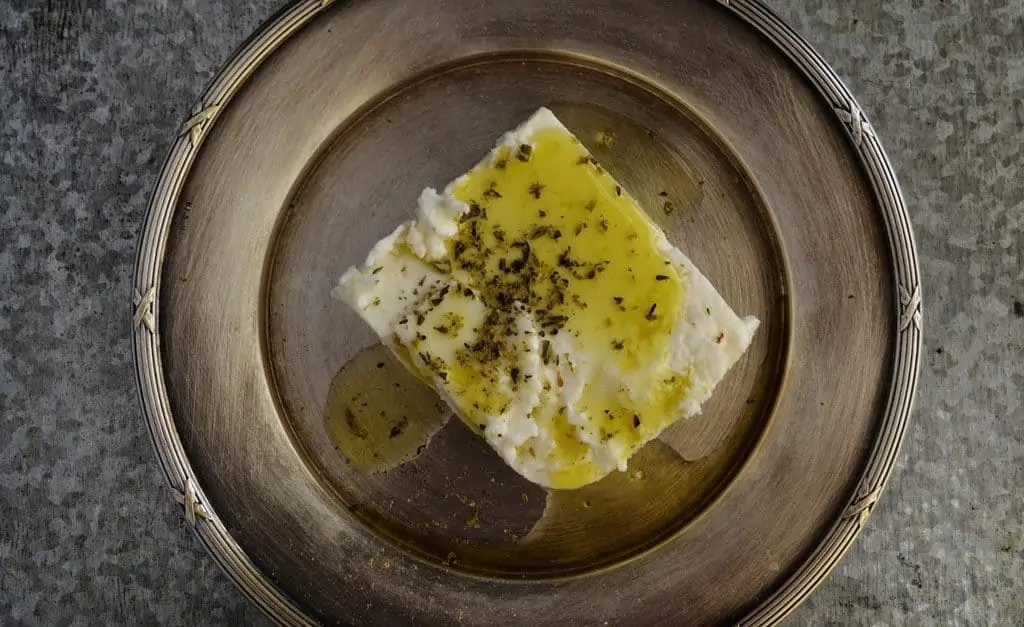
Feta cheese originated in Greece and is a part of all of the cuisines from the Mediterranean region. It is salty and tangy and crumbles easily.
It’s used for everything from salad to dessert, and breakfast, lunch and dinner.
It’s really great for a little snack with some home cured olives. 🙂
As with all cheeses, Feta cheese is a good source of calcium and vitamins B2, B6, and B12. Depending on the types of milk you use the nutritional content and health benefits change a little.
But one thing stays the same with all milks: they are good for teeth and bone health!
Traditionally, Feta is made with sheep’s milk or a mixture of sheep and goat milk. But never fear! It turns out amazing with regular ole cow’s milk, too!
The original recipe I started with is from Cultures for Health. They have an amazing eBook on cheese making that you can get free.
I use a slightly different method to age my Feta than they do. It works better for me and yields the same results.
I just love that cheese making, along with so many other things with Traditional Foods, is so flexible and can accommodate different lifestyles. 🙂
Because a little bit of Feta goes a long way, I only use one gallon of milk instead of the two that I normally use for cheese.
One pound(ish) of Feta will last me several months.
This cheese freezes beautifully, but can also be kept in brine in the fridge or in olive oil on the counter or in a cold room.
Onward.

Feta Cheese
- 1 gallon milk, not ultrapasteurized or ultra high pasteurized. You can use sheep, goat, or cow milk, or a mixture
- 1 packet of Feta cheese culture (I get mine here
 )
) - 1/2 tsp single strength liquid rennet (if using double strength, use 1/2 the amount)
- 1/4 cup cool, filtered water
- 1/3 cup sea salt dissolved in 1/2 gallon water OR
- 1/2 gallon extra virgin olive oil
- Large stainless steel pot with lid
- Instant read thermometer
- Butter muslin, tea towel, or pillow case weight fabric
- Curd knife
- Stainless steel colander
- Feta cheese brining mold (optional ~ I got mine here at Cultures for Health)
- OR a 1/2 gallon canning jar with a lid
Culturing the cheese
Start by heating the milk over medium low heat until it reaches 86° F. Sprinkle the Feta culture over the top of the milk and let it re-hydrate for 2-3 minutes.
After it’s re-hydrated, stir the culture in well with an up and down motion. The trick here is to make sure that the culture is mixed in all the way down to the bottom of the pot.
Now you need to let the milk sit for an hour to culture. I usually remove the pan from the heat, put on the lid, and cover the whole thing with a beach towel to retain the heat.
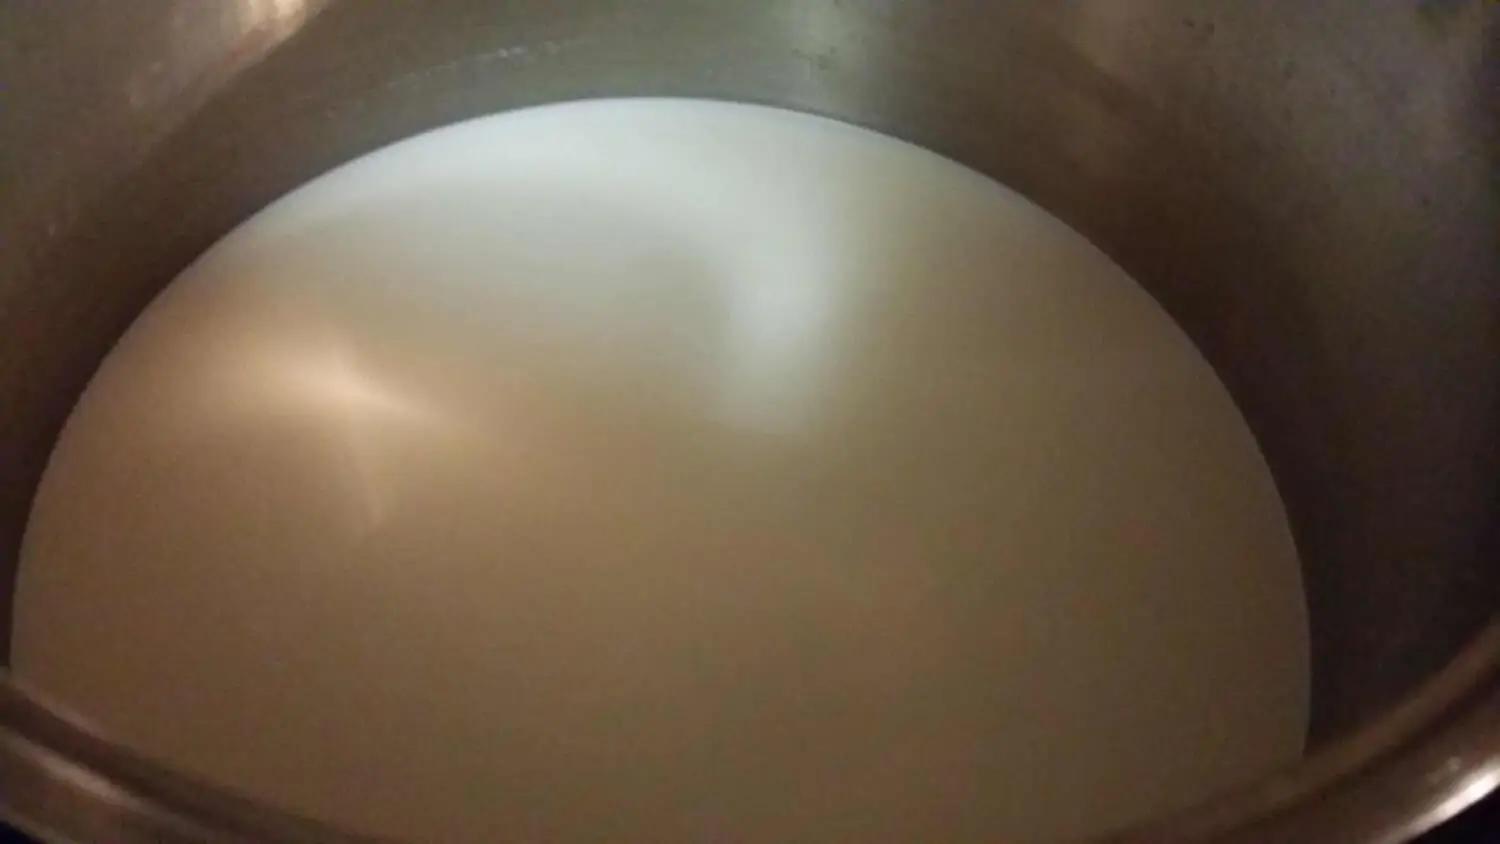
now it’s cultured
After the culturing time is up, mix the liquid rennet with a 1/4 cup of cool filtered water.
The water needs to be about room temperature. If it’s too cold, it might lower the temperature of the milk.
Gently mix the rennet into the milk, again using an up and down motion. Mix it thoroughly, but don’t over mix. Max of 30 seconds.
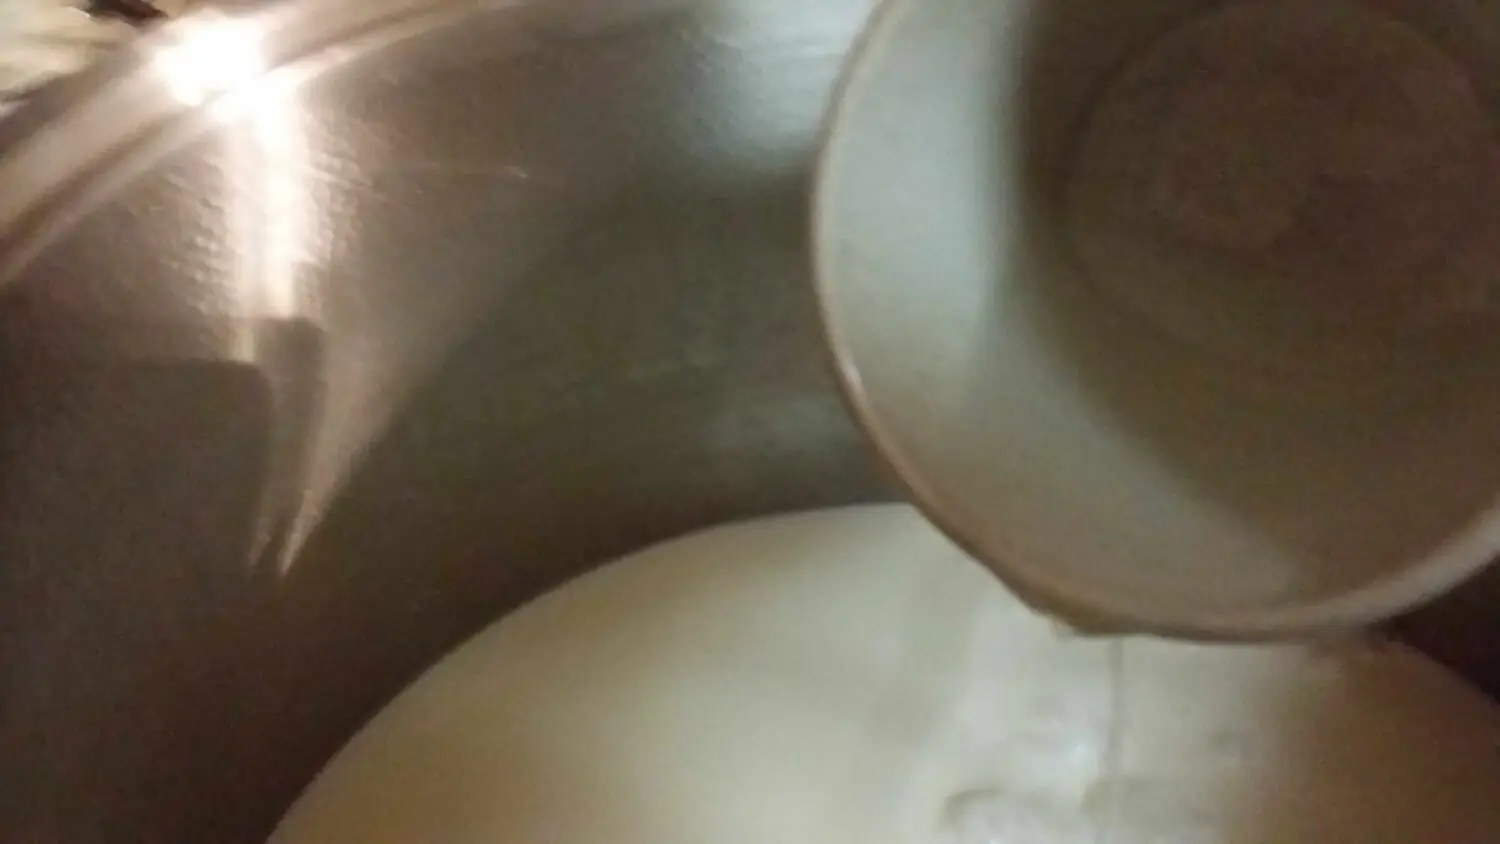
mixing in the rennet
Curd Formation
After you’ve added the rennet, put the lid back on the pot and let it sit undisturbed over night. I put the towel back around it if it’s cool in the house.
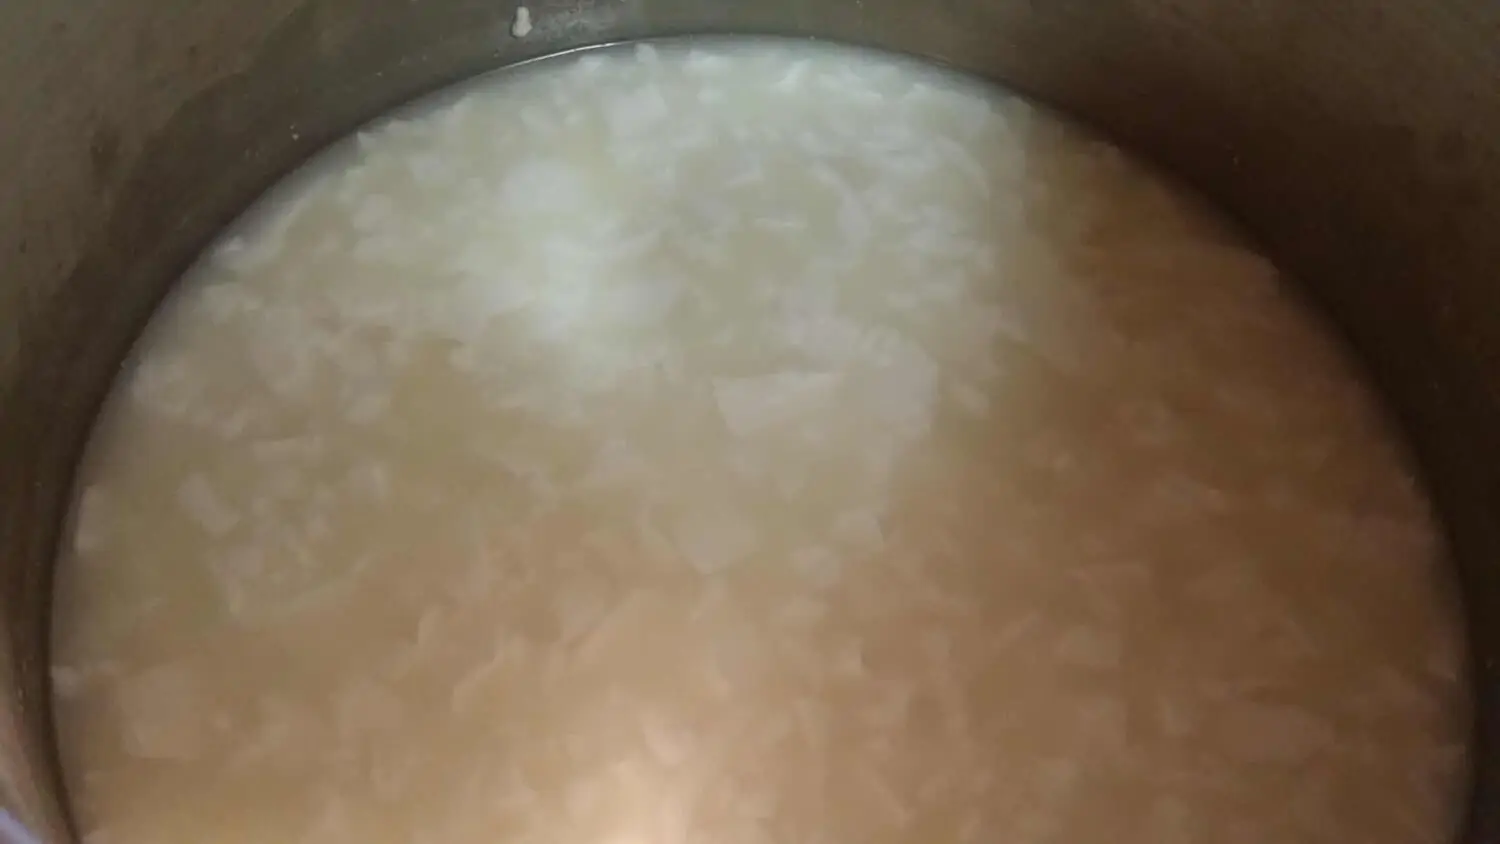
The next morning, the milk should be thick and there should be a layer of whey on the top.
The whey will be a clearish, greenish, yellowish color depending on the type of milk you use.
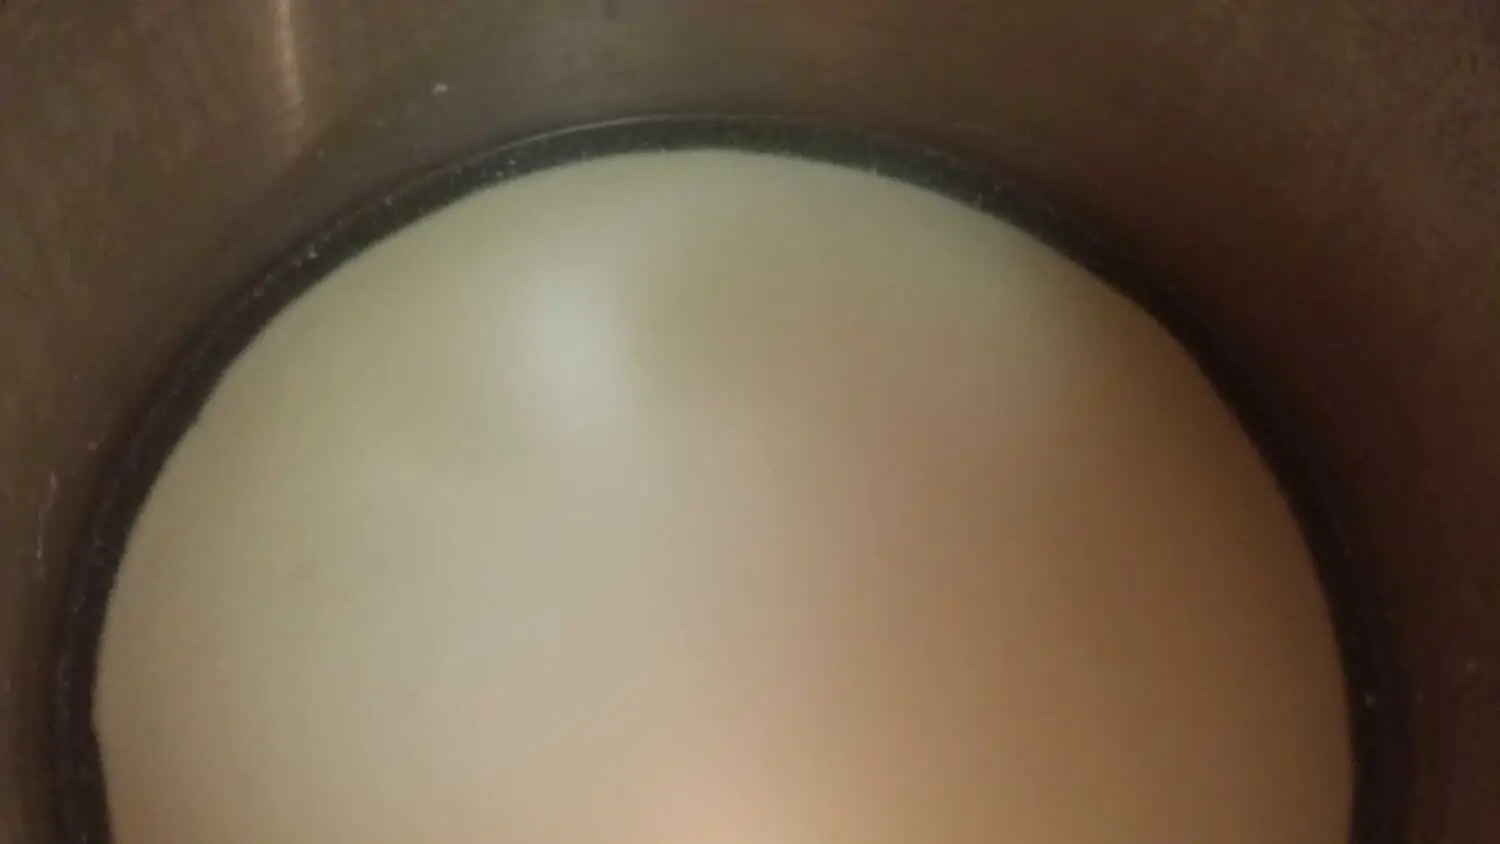
ready to cut the curds
Now it’s time to cut the curds.
Using a long knife, make cuts about 1/2 inch apart all the way to the bottom.
Now turn the pot 90° (a quarter turn) and make another set of cuts perpendicular to the first.
That should give you 1/2 inch(ish) squares.
Here’s the tricky part.
Hold your knife at a 45° angle, and cut the curds again on the diagonal down through the cuts you’ve already made.
Turn the pot 90° and cut at an diagonal again.
Do that 2 more times until you have made diagonal cuts in all 4 directions.
When you have all the cuts made, let the curds sit undisturbed for 10 minutes.

cut curds. check
Over the next 20 minutes stir the curds gently, cutting any you missed with the spoon so that they are roughly the same size.
The curds will shrink a little as they release more whey.
curds shrinking
Separating the Curds and Whey
Now it’s time to line a colander with the butter muslin. Put the colander in the sink or over another pot if you want to keep the whey.
Pour the curds into the colander and let most of the whey drain out.
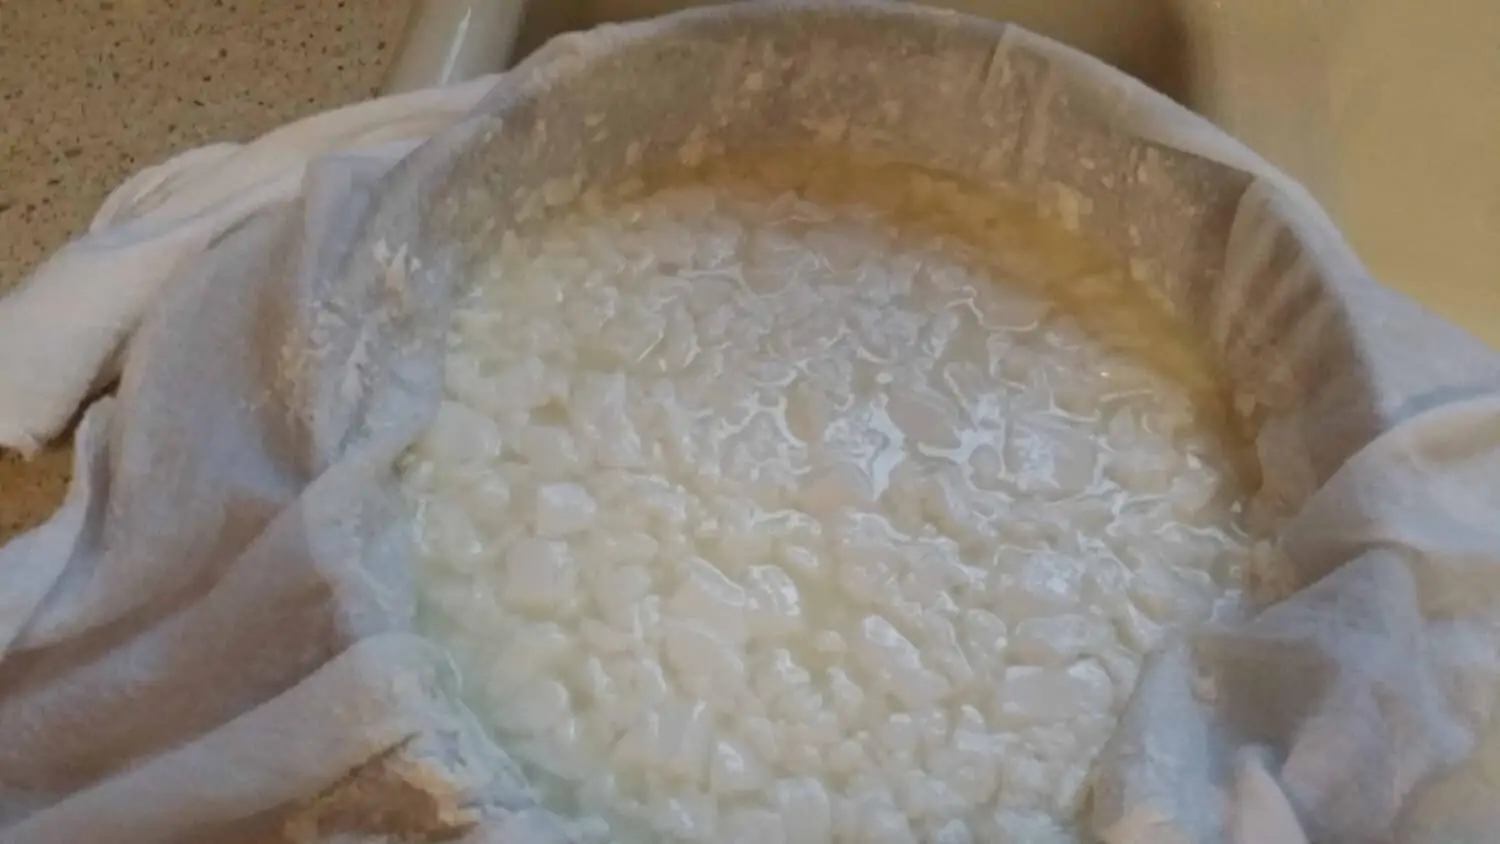
curds draining
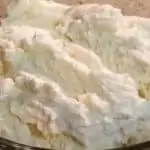
After the Feta cheese curds have drained for about 20 minutes, tie the corners of the butter muslin together and hang the cheese over a bowl for anywhere from 6 to 24 hours.
During this time 2 things happen:
1. The rest of the whey drains out of the curds so you have a firmer cheese, and
2. the Feta begins to develop it’s characteristic tangyness. The longer it hangs, the drier and tangier the cheese will be.
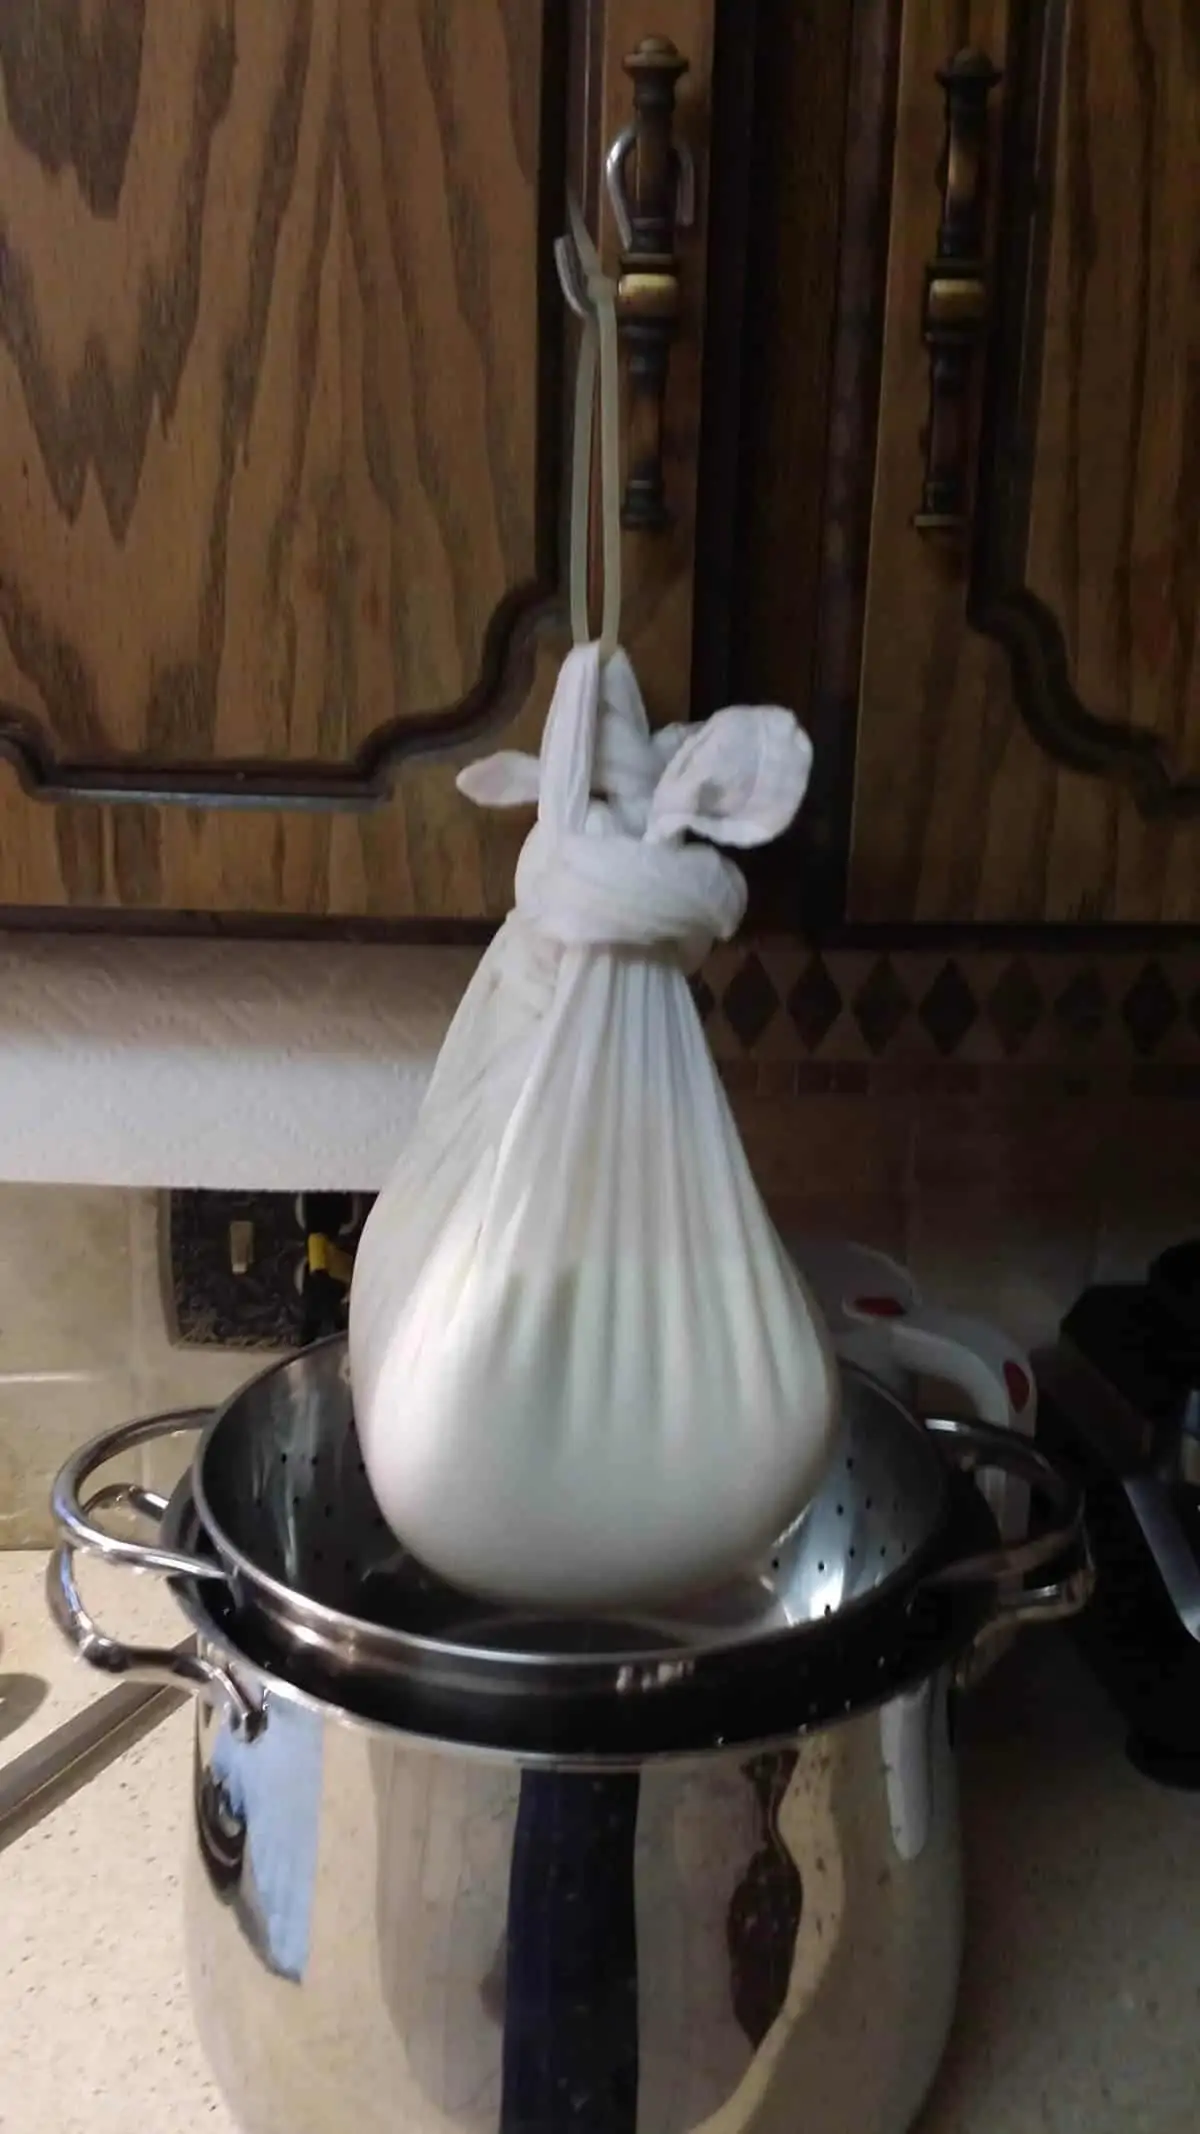
cheese hanging…check out my snazzy hi-tech hanger contraption thingy
You can turn the cheese in the cloth to make a smoother top if you want to.

after hanging
Brining
After 24 hours, take the cheese down and remove the butter muslin.
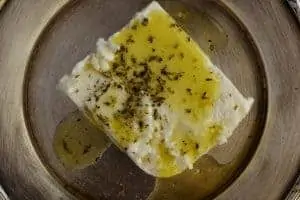
Feta cheese can be eaten fresh at this stage, but it has a more pronounced taste after brining.
I put my Feta cheese in a brining mold, but you can just place it in a jar with a brine solution of 1/3 cup sea salt in 1/2 gallon of water.

cheese and brine in brining mold
I brine my Feta cheese for about 30 days.
After that, I slice it thickly and let it sit covered at room temperature to dry for 2 or 3 days.
I put it on a piece of plastic mesh that is on top of a cooling rack. That all goes inside a rimmed cookie sheet.
This way I know all the whey has been released, and it dries out after being in the brine.
The Feta will release some whey into the brine as well, and that will turn the brine a little yellowish.
Storing your Feta Cheese
After the cheese is dry to the touch, cut the slices in smaller pieces and store in fresh brine or in extra virgin olive oil.
You can also simply put the cheese in a baggie and store it in the fridge.
But if you are going to do that, I would suggest storing a small piece in the fridge and freezing the rest.
Unless of course you eat Feta cheese every day. 🙂
Use this wonderfully tangy, salty goodness crumbled on salads, in egg dishes, or even in my Brown Rice Pilaf with Preserved Lemons.
Blessings!

More homemade cheese & cultured dairy for you to try:

Feta Cheese
Ingredients
Cheese
- 1 gallon milk not ultrapasturized
- 1 package Feta cheese culture
- 1/2 tsp liquid rennet if using double strength, use half the amount
Storing
- 1/3 cup sea salt
- 1/2 gallon filtered water OR
- 1/2 gallon olive oil extra virgin
Instructions
- Start by heating the milk to 86 degrees F.
- Add the milk culture and let hydrate for 2-3 minutes.
- Stir in the culture well with an up and down motion.
- Let the milk sit for an hour to culture. I usually remove the pan from the heat, put on the lid, and cover with a beach towel to retain the heat.
- After an hour, dilute the rennet in 1/4 cup cool filtered water.
- Mix the rennet into the milk with an up and down motion. Do not over mix.
- Now, put the lid back on the pot and let it sit undisturbed over night. I put the towel back around it if it's cool in the house.
- The next morning, the milk should be thick and there should be a layer of whey (clearish liquid) on the top.
- Now it's time to cut the curds. Using a long knife, make cuts about 1/2 inch apart all the way to the bottom.
- Now turn the pot and make another set of cuts perpendicular to the first.
- Now with your knife at a 45 degree angle, cut the curds again. Turn the pot 90 degrees and cut at an angle again. Do that until you have made angled cuts in all 4 directions.
- Over the next 20 minutes stir the curds gently, cutting any you missed with the spoon so that they are roughly the same size. The curds will shrink a little as they release more whey.
- Put the butter muslin in a colander in the sink.
- Pour in the curds and let the whey drain out.
- After it has drained for about 20 minutes, tie the corners of the cloth together and hang the cheese over a bowl for 24 hours. You can turn the cheese in the cloth to make a smoother top if you want to.
- After 24 hours, brine the cheese for about 30 days.
Melinda says
Why can’t o use raw milk? Since I have my own milking cows it is all I have.
Cery says
Hi there Melinda!
Sorry that wasn’t clear. You can absolutely use raw milk! That’s the best kind, lol. You can use just about any kind of milk, you just can’t use Ultra high pasteurized milk.
Cery
Nona Schulz says
I am currently making this cheese and hoping for the best. What does overnight mean? 8 hours? 10 hours? I did twelve hours and the while the cheese set up when I cut it the curd lost it’s shape. I don’t think it is a complete disaster but my curds certainly didn’t look like the pictures above. I am draining now and fingers crossed.
Cery says
Hi Nona!
It really depends on what the cheese is doing. The temperature of the cheese and in the room plays a role in the curd formation. The age of the rennet and how well it’s mixed in also plays a role. And the type of milk you use is another factor. If the milk is high temperature pasteurized, you will need to add some calcium chloride the next time to firm up the curd. You can find that at culturesforhealth.com or even on Amazon.
I hope your cheese turned out ok!
Cery