
What exactly are preserved lemons, you ask?
Salt preserved, fermented lemons are an amazing taste sensation. Salty, tart, lemony, and just slightly sweet, they are a great way to wake up your taste buds.
Originally from the Mediterranean region where they have oodles of lemons to play with, some recipes call for various spices while others just use salt.
I’ve made these with cinnamon, peppercorns, and a mixture of cinnamon and star anise.
While I enjoy them all, this particular recipe for preserved lemons is just plain. I find the plain ones to be more versatile.
Luckily I was able to find some lovely big lemons this time around.
So I made a half-gallon jar full because I go through a lot. I really like them on salads and in quinoa.
And because they are naturally fermented, they have some probiotic benefits as well.
And don’t they just look purty!

Here’s what you need to make salt preserved lemons:
- Clean glass jar with plastic lid
 – size depends on how many lemons you have. 3 large lemons will fill a quart jar. I like to do a 1/2 gallon at a time.
 - Organic lemons – enough to fill the jar when squashed, plus a few to juice
- Sea Salt – 2 Tbsp per lemon
- Filtered Water
- Something to squash the lemons with. I use my kraut pounder
- Glass fermenting weights or something else to keep the lemons submerged, like a baggie full of water
I use this to squash all kinds of things.

my squasher
I have this handy-dandy squasher. It’s actually technically called a kraut pounder, but I just call it my squasher. 🙂
I’ve used it for lemons, kraut, jellies, and as a giant mortar.
Or maybe pestle.
I tend to get those mixed up. 🙂
And I can crack pecans with it too!
But I digress.
The preserving part:
Working with one at a time, cut the lemons in quarters leaving about a 1/2 to a 1/4 inch hinge-y thing at the bottom.

lemon hinges
Now take a tablespoon of the sea salt and rub it all over the cut edges.

all salted up
When it’s all salted up, stick it inside the jar and squash it a little. We want the juice to squish out and you’ll need to pack them pretty tightly into the jar.
Make sure you squash each one as you put it into the jar.
If you try to wait til the end to squash them all it doesn’t work very well.
Just trust me on this, mmmkay?
being squashed
Continue cutting, salting, and squashing your lemons until the jar is full, leaving about an inch of head space. I got 7 big lemons in the 1/2 gallon jar.
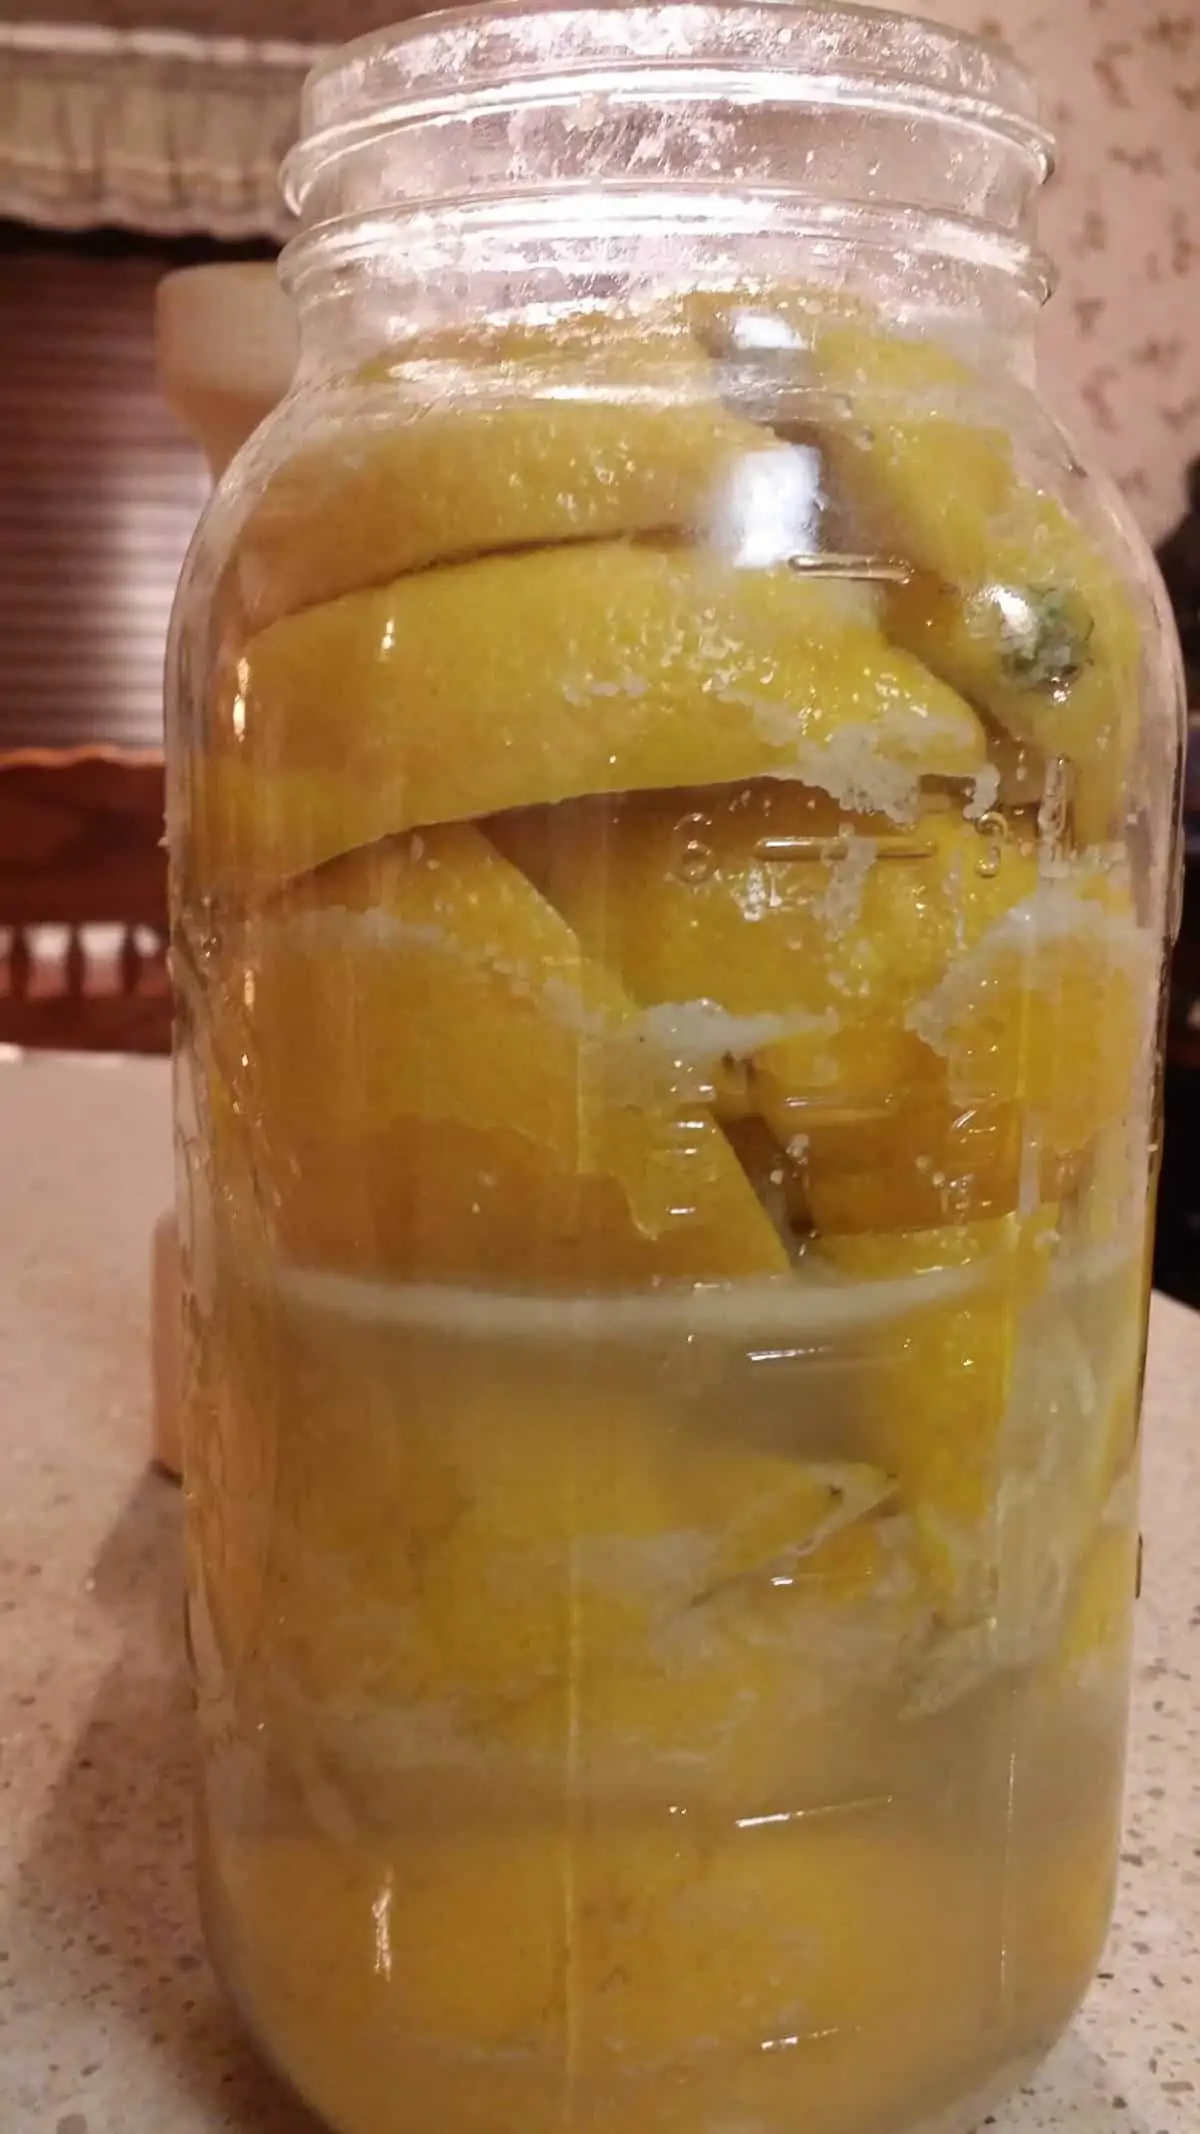
squashed lemons in the jar
Now take the lemons you have left and cut them in half and juice them.
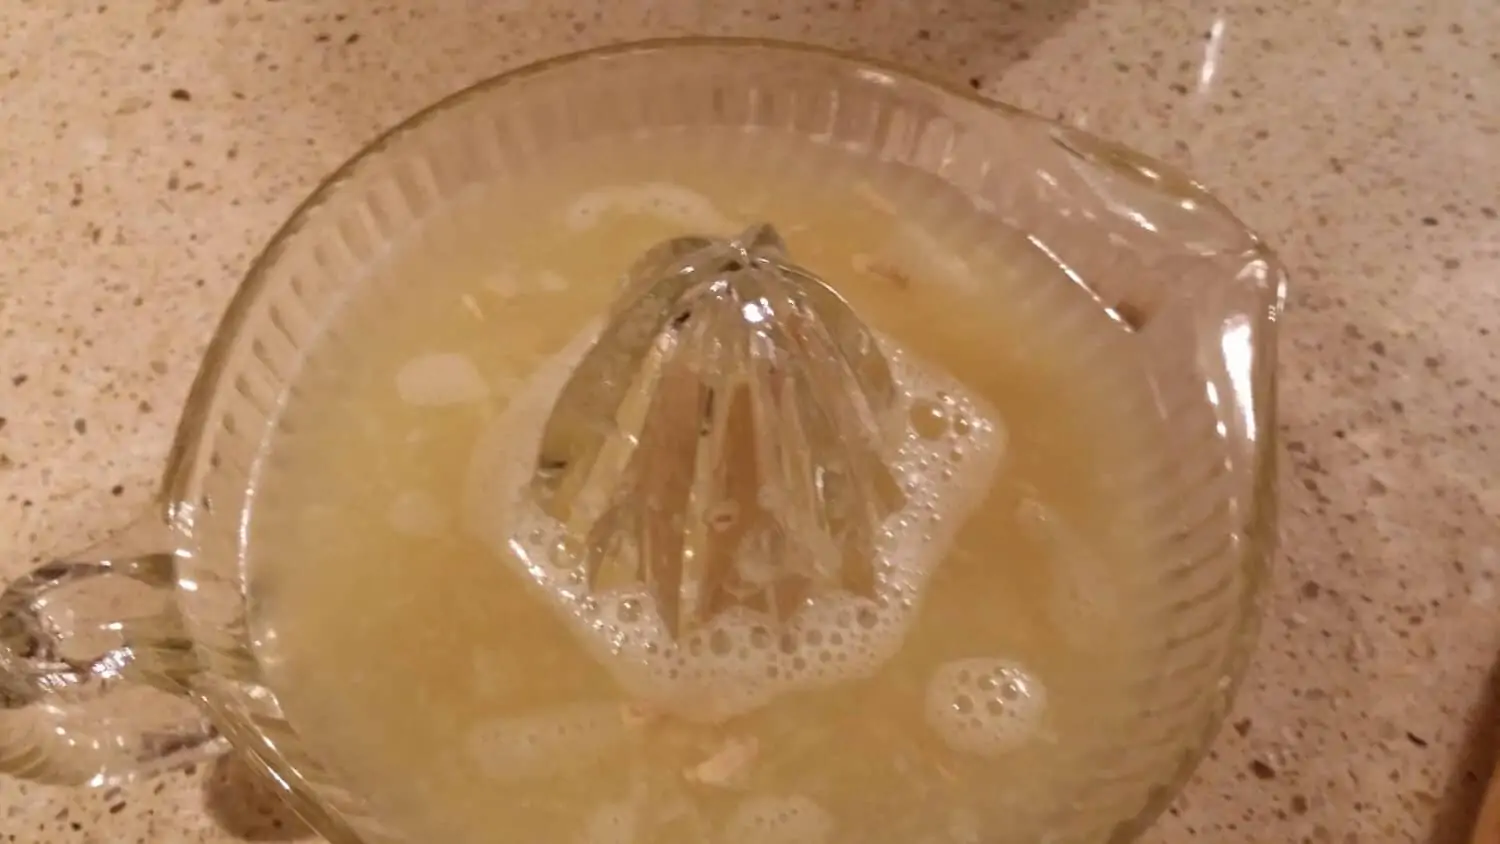
isn’t my grandmother’s juicer cool?
Mix up the juice with the sea salt you have left and pour it into the jar to cover everything. If there’s not quite enough liquid to cover, try mashing the lemons down some more.
full of juice
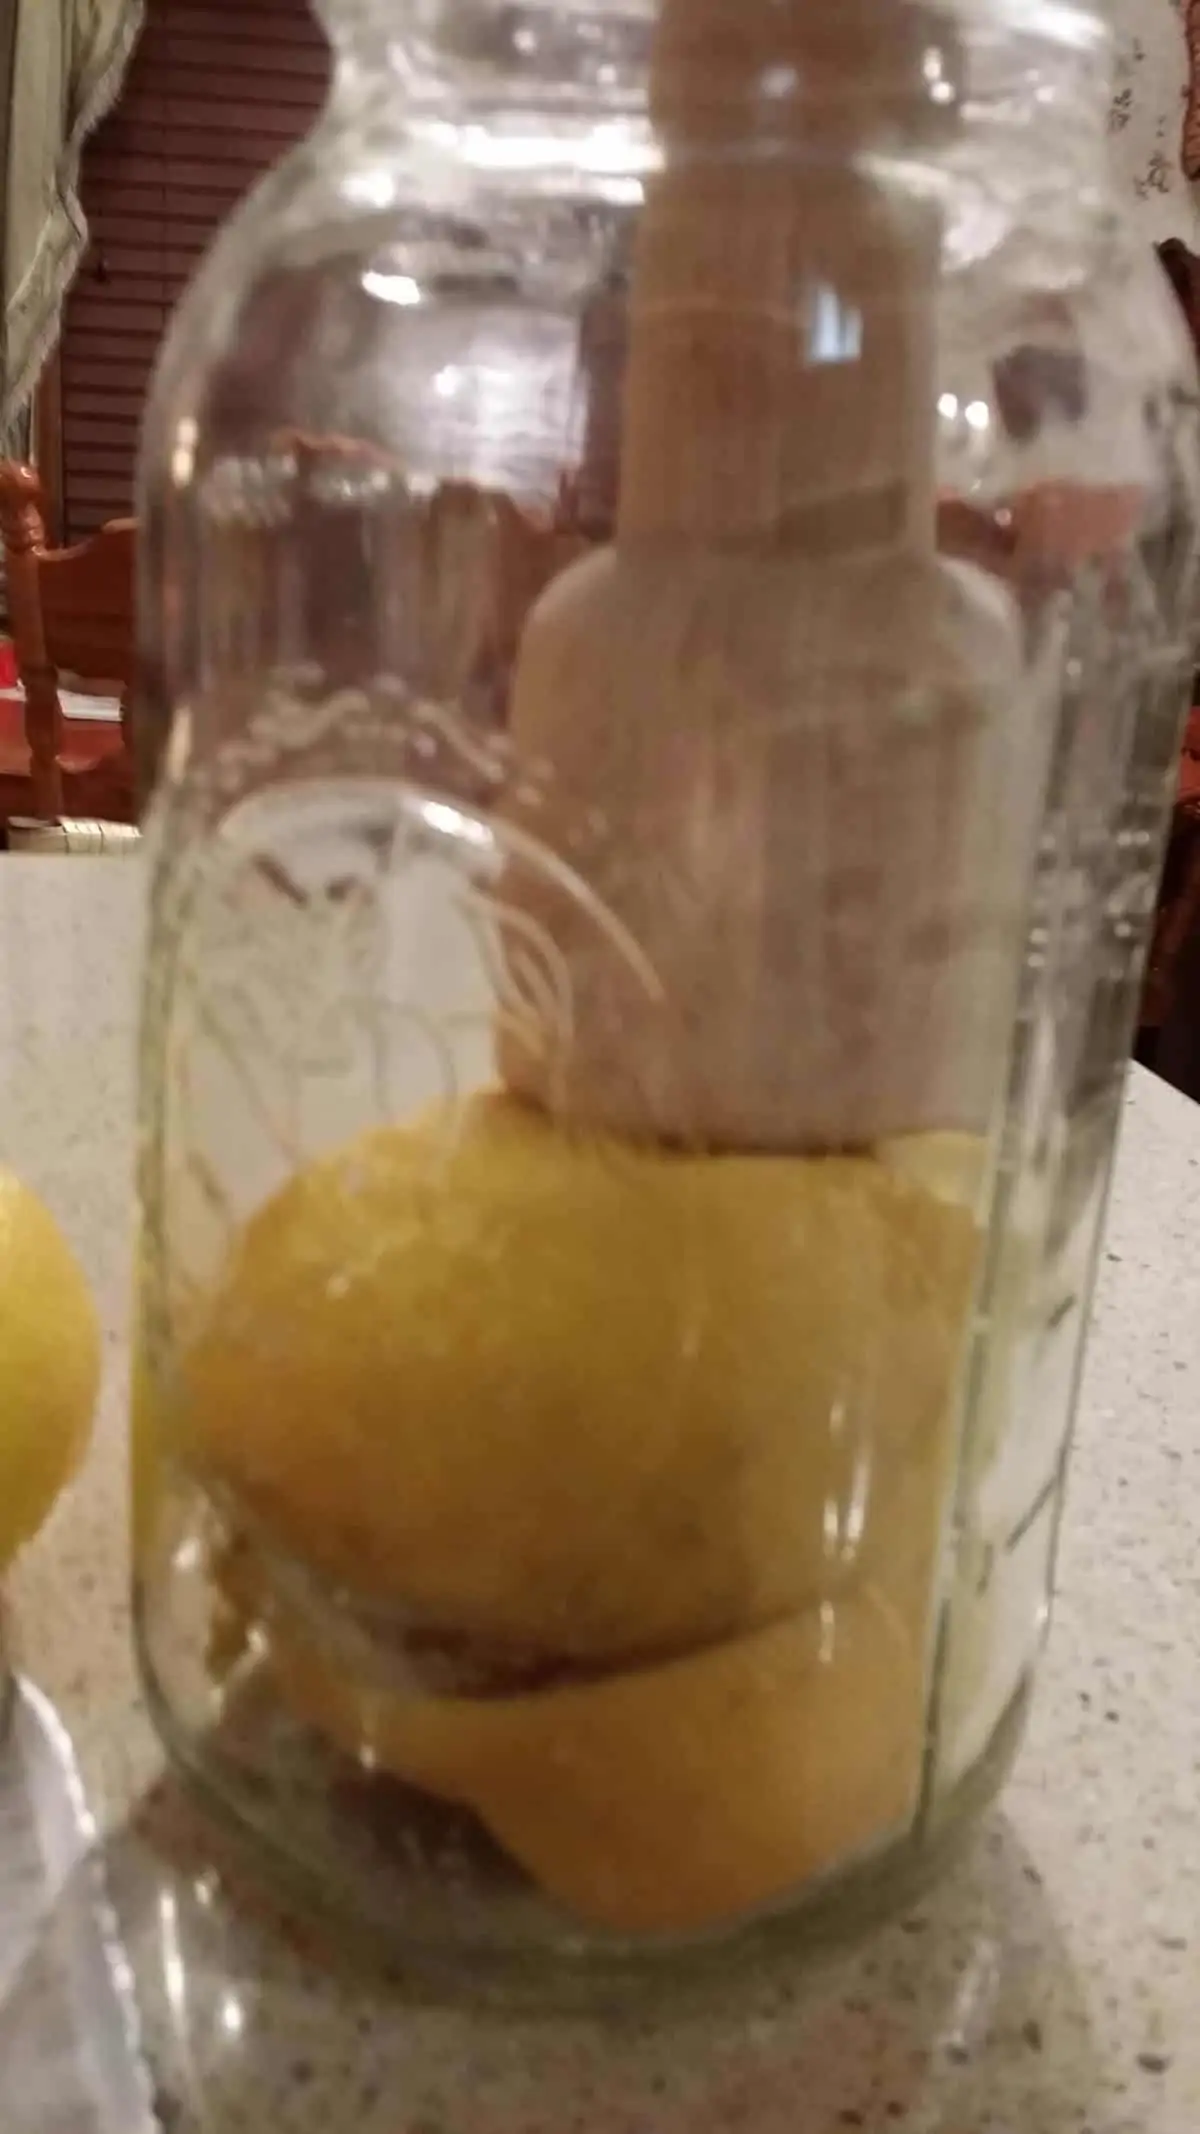
You can add some water if you need to so that they stay covered. You may also need to weigh them down to keep them under the brine.
I used some glass fermenting weights that I got online. You could also use a zip lock baggie filled with water. Just make sure that you can get the lid on the jar.
glass fermenting weights
Once everything is all safely tucked under the brine, put the lid on the jar.
Here’s the fermenting part:
Luckily, the fermenting part just kinda happens on it’s own. The lactobacilli that are on the lemons will do all the work for you.
Lactobacilli are friendly bacteria that are present virtually everywhere. They convert sugars and starches to lactic acid, which is an important dietary component.
They are also the bacteria that culture yogurt and buttermilk.
They’re really good for your digestion, too.
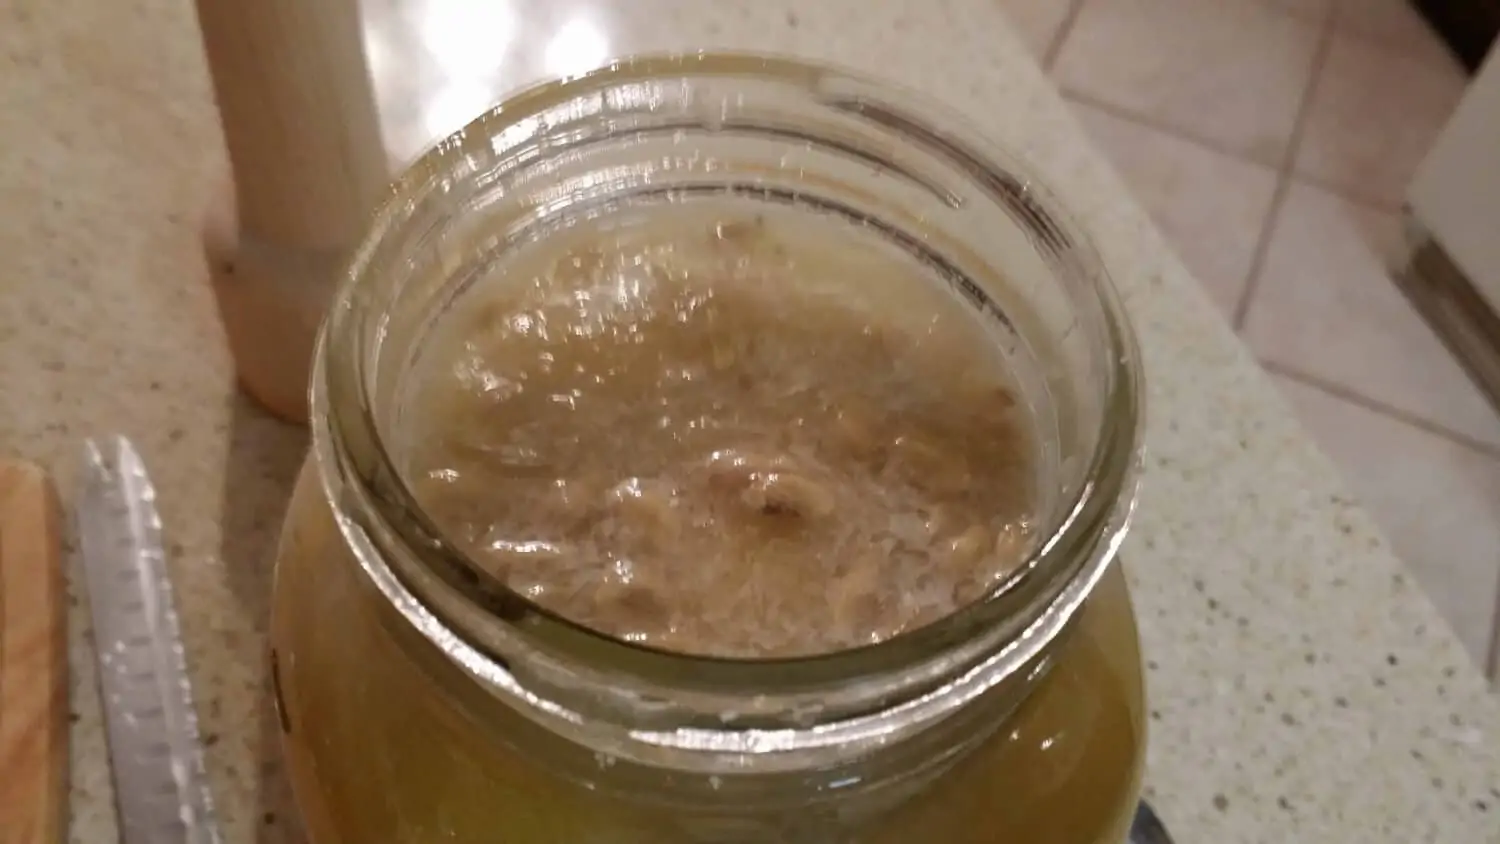
The action of those little guys at work causes the bubbles that you will see forming in the brine inside the jar.
And they keep pathogenic bacteria at bay. (That’s the bad guys, in case I was getting too science-y.)
So now put the jar somewhere where it’s not in your way, but you will remember to check it. And let it do it’s thang.
This ferment will take anywhere from 1 to 4 weeks depending on the size of the lemons and the temperature of your house.
Larger lemons will take longer, warmer temperatures will speed things up.
Make sure you burp the jar a couple of times a day.
Gas will build up as the lemons ferment and you don’t want anything shooting out of the top when you open the jar!
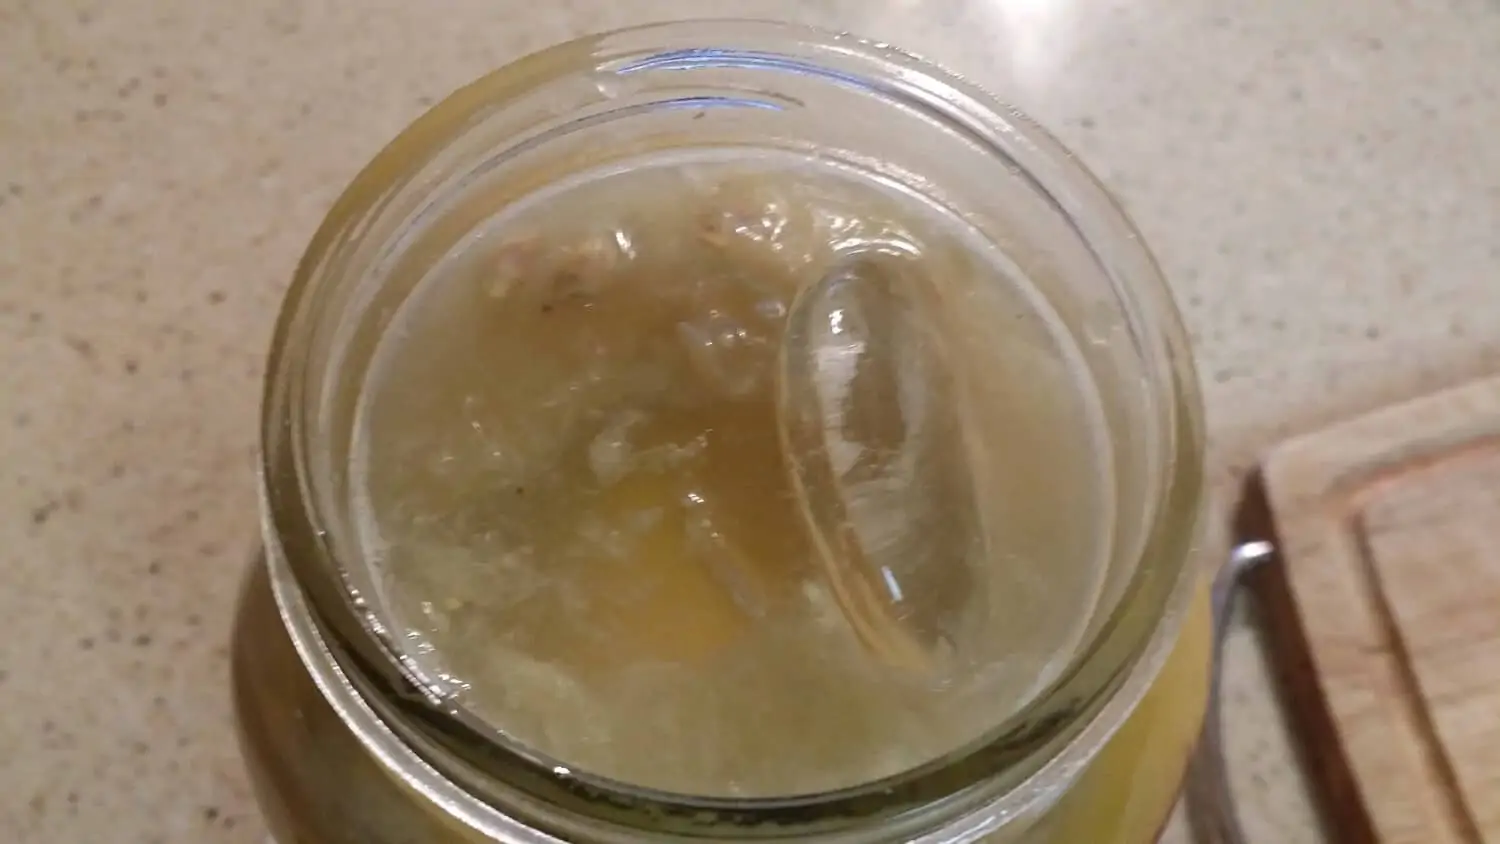
The lemons are finished fermenting when the bubbling in the jar has subsided and the rind is soft and pliable.
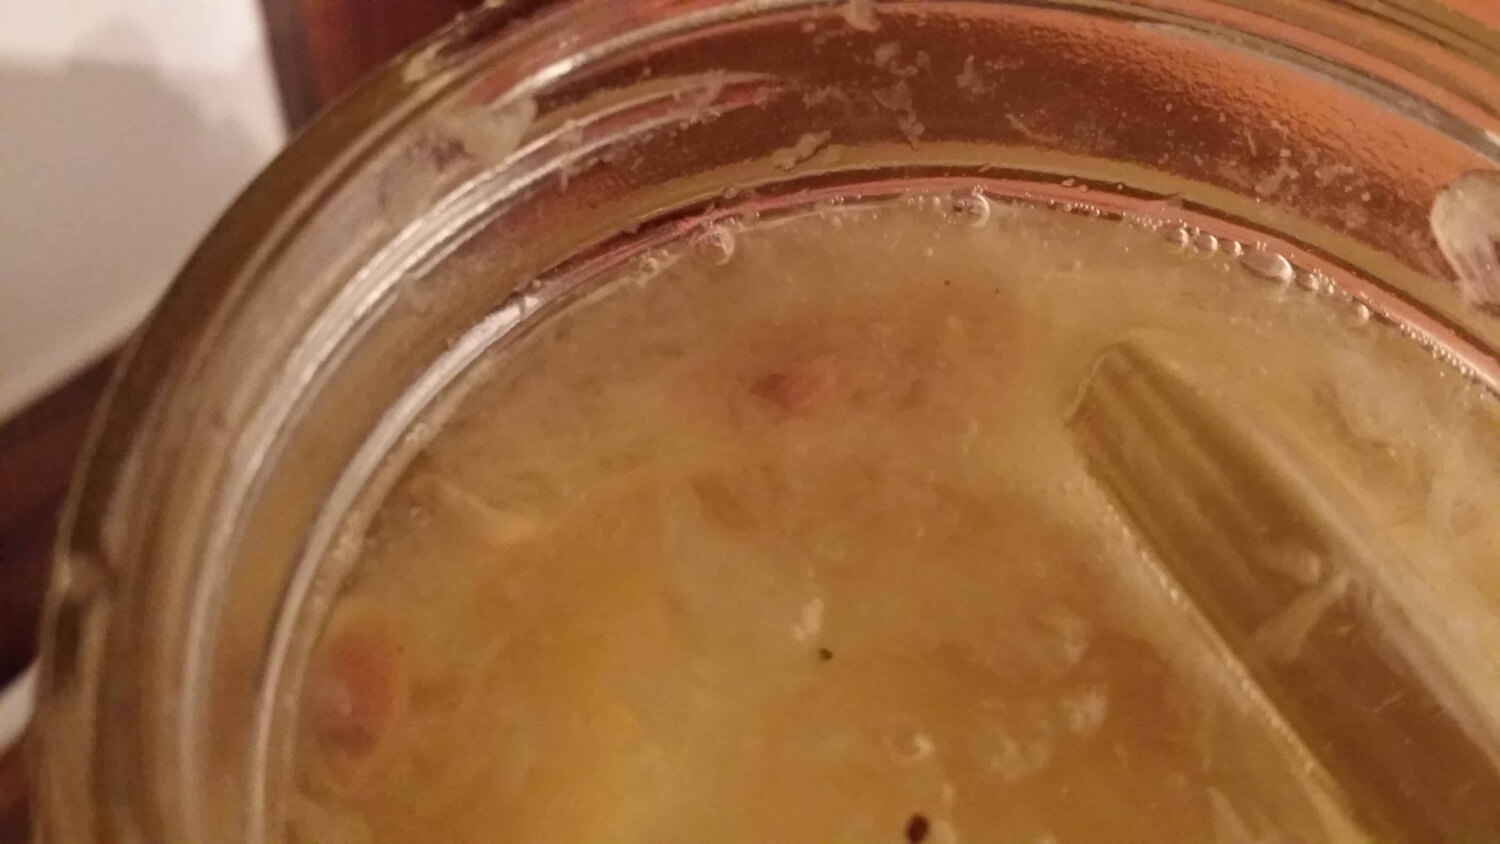
bubbling is pretty much done
How to Use Preserved Lemons
I store these guys in the fridge, but if you are going to use them up quickly you could leave them out as long as the room temperature is cool.
Unfortunately, I just don’t have enough counter space for all my ferments. 🙂
I like to chop them up and throw them into salads.
You can also serve them diced like pickles or olives.
I’ve even used them to stuff inside a chicken that I’m roasting.
I’m not gonna lie. The aroma from that was pretty amazing.
And it made the chicken moist and lemony.
I also love them in my Brown Rice Pilaf!
They would be pretty darn good in a chicken salad sandwich, too, I think. That’s on the list to make.
There are so many ways to use these guys. Be creative!
Then come back and share what you did with them. 🙂
Blessings!

More fermented stuff you need to make:


Preserved Lemons
Ingredients
- Glass jar with lid
- 6-12 Organic lemons or enough to fill the jar + a few more to juice
- sea salt 2 Tbsp per lemon
- filtered water
Instructions
- Working with 1 lemon at a time, cut the lemons in quarters leaving about a 1/2 to a 1/4 inch intact at the bottom.
- Take a Tbsp of sea salt and rub it all over the cut edges.
- Now stick it inside the jar and squash it a little. You want the juice to come out and you want to pack the lemons pretty tightly into the jar.
- Continue cutting, salting, and squashing until the jar is full, leaving about an inch of head space.
- Now take the ones you have left and cut them in half and juice them.
- Mix the juice with the sea salt you have left and pour it into the jar to cover everything up.
- If there's not quite enough liquid to cover you can add some water so that everything stays covered.
- You may also need to weigh them down to keep them under the brine. I used some glass fermenting weights that I got from Cultures for Health. You could also use a zip lock baggie filled with water. Just make sure that you can get the lid on the jar.
- Once your lemons are all safely tucked under the brine, put the lid on the jar. Now put the jar somewhere where it's not in your way. This ferment will take anywhere from 1 to 4 weeks depending on the size of the lemons and the temperature of your house. Larger ones will take longer, warmer temperatures will speed things up.
- Make sure you burp the jar periodically. Gas will build up as they ferment and you don't want anything shooting out of the top when you open the jar!
- The lemons are done when the bubbling has subsided and the rind is soft and pliable.
Heidi says
YUMMY!!! I have two jars fermenting away on my counter right now! 🙂 I did put spices in mine: cinnamon chips in one and peppercorns in another. I tried making these before, but I don’t think I cut them up enough, and they just didn’t turn out right. I’m glad I read this! Plus, thank you for sharing ideas for how on earth to use them!
Cery says
The cinnamon sounds yummy! And you’re welcome! 🙂
Robyn says
What exactly does “burp the lemons” mean? Am I removing the lid or just patting the bottom? I can’t wait to try the lovely lemons with some fresh basil & bocconcini & rainbow tomatoes!
Thank you for the recipe!
Cery says
Hi Robyn!
When you “burp the lemons”, just loosen the lid to allow the gas to escape. No need at actually remove the lid.
That combination of ingredients will make a beautiful looking jar. And the lemon and basil will flavor the bocconcini perfectly! I may have to give that a try as well. 🙂
Pamela kupiec says
When the 1 to 4 weeks are up, how do u ingest it
Cery says
Hi Pamela!
I like to cut it up and add it to salads and chicken and fish dishes. You can also add the liquid to salad dressings and marinades. Just keep in mind that it’s pretty salty!
The skin will have softened enough to eat after the fermentation period.