You’ve finally made it through the summer. And the garden, which has been a little overwhelming in it’s bounty, has now started to slow down a bit.
The mornings are crisp again, and the cool weather crops are just about ready to harvest.
But those pesky tomatoes just. keep. growing…
Only now, they just all hang out being green. Not even pretending that they’re gonna turn red.
Which is perfect!
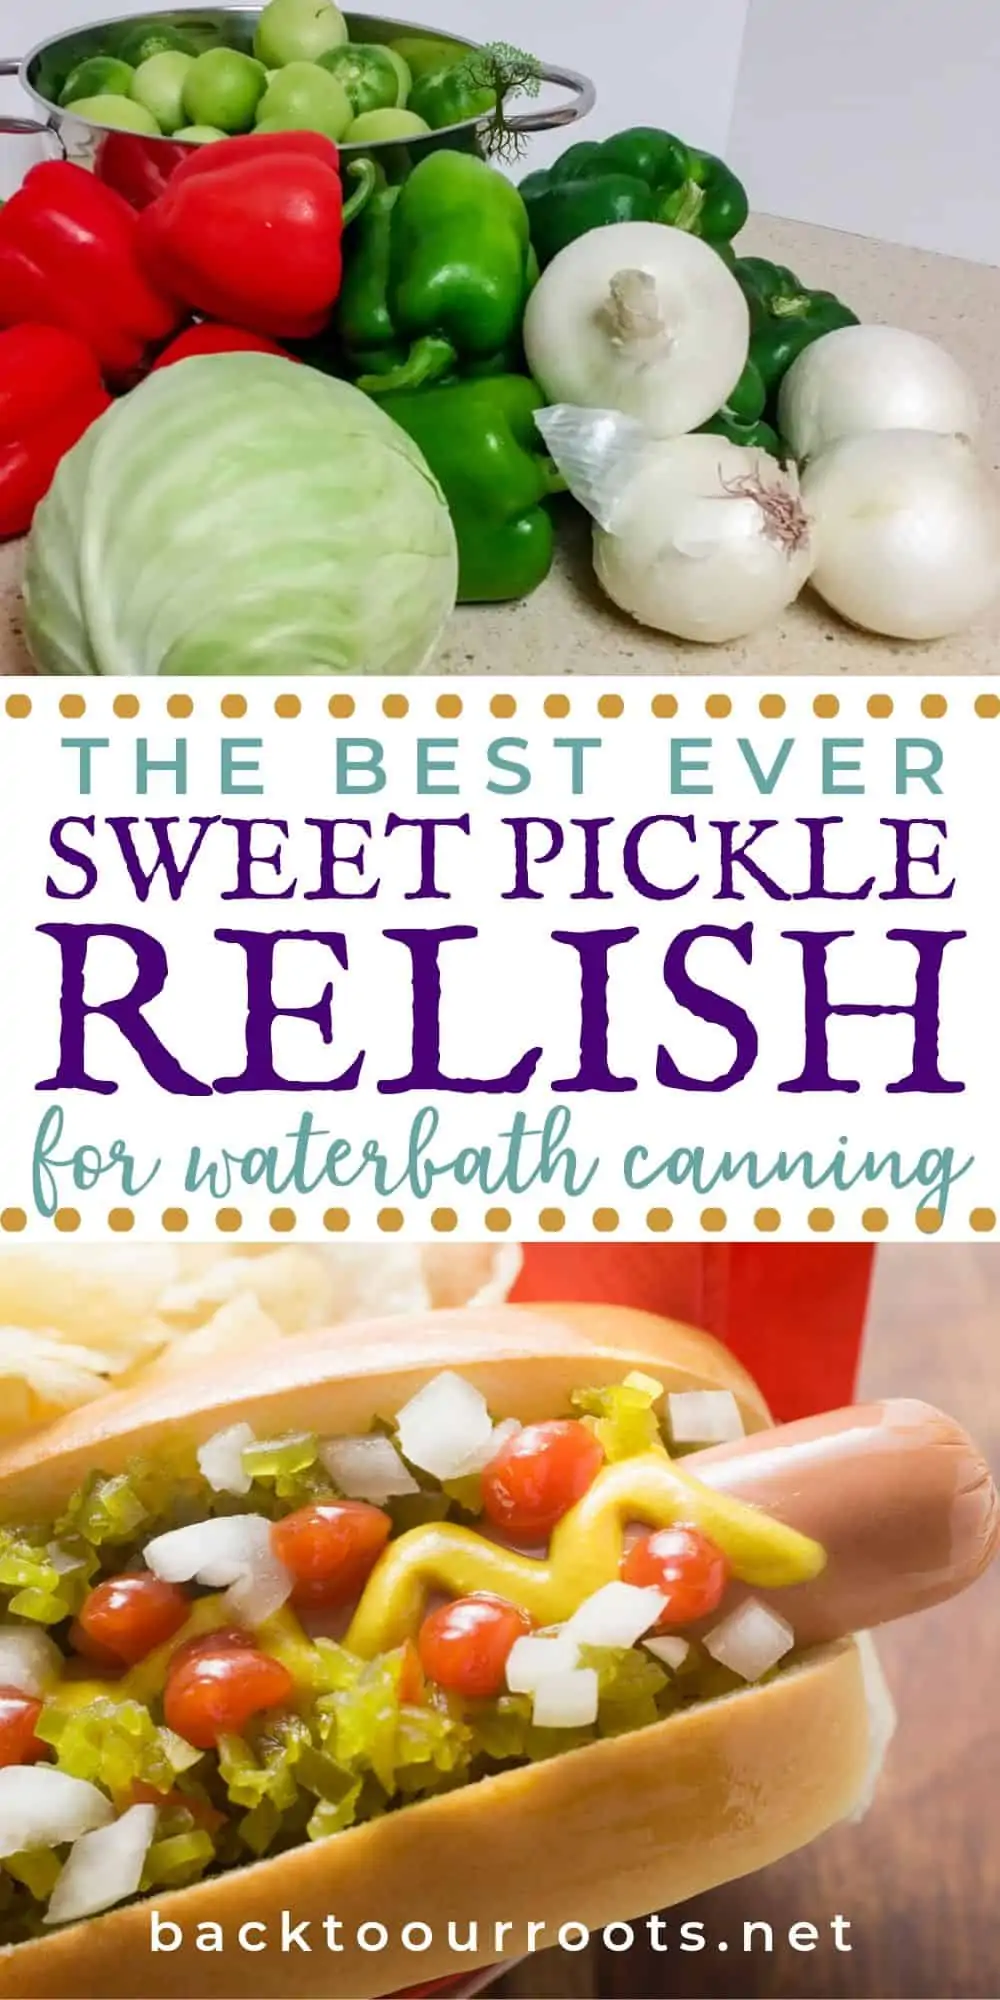
Cuz grandma made a canned pickle relish recipe for exactly this time of year.
Pickle relish.
Chow chow.
Piccalilli.
Whatever you call it, they are all pretty similar. Because they’re all about preserving what’s still in the garden right now.
This sweet pickle recipe I’m sharing here is the recipe my mom used when I was a kid. And her mom used it before that. And it’s the same one I’ve used since I started doing my own canning decades ago.
It’s perfect for hot dogs and is the relish I use when I make deviled eggs and tuna salad.
The recipe originally came from a Better Homes and Gardens cookbook that was published sometime in the 40’s.
This canning recipe makes approximately 8 pints or 16 1/2 pints.
I prefer to use the 1/2 pint jars because it’s not something that we use every day and it takes up less room in the fridge that the pints do.
This is also one of those recipes that everyone in the family requests at least one jar of every year.
Because those deviled eggs are just not gonna taste like Grandma’s if you don’t use the right pickle relish!
Although originally this was an open kettle canning recipe, I’ve converted it to a waterbath canning recipe. The vinegar adds enough acidity that it’s safe to can that way.
You can read about the dangers of open kettle canning here.
OK. Let’s get going!
This recipe is a 2 day process, so plan accordingly.
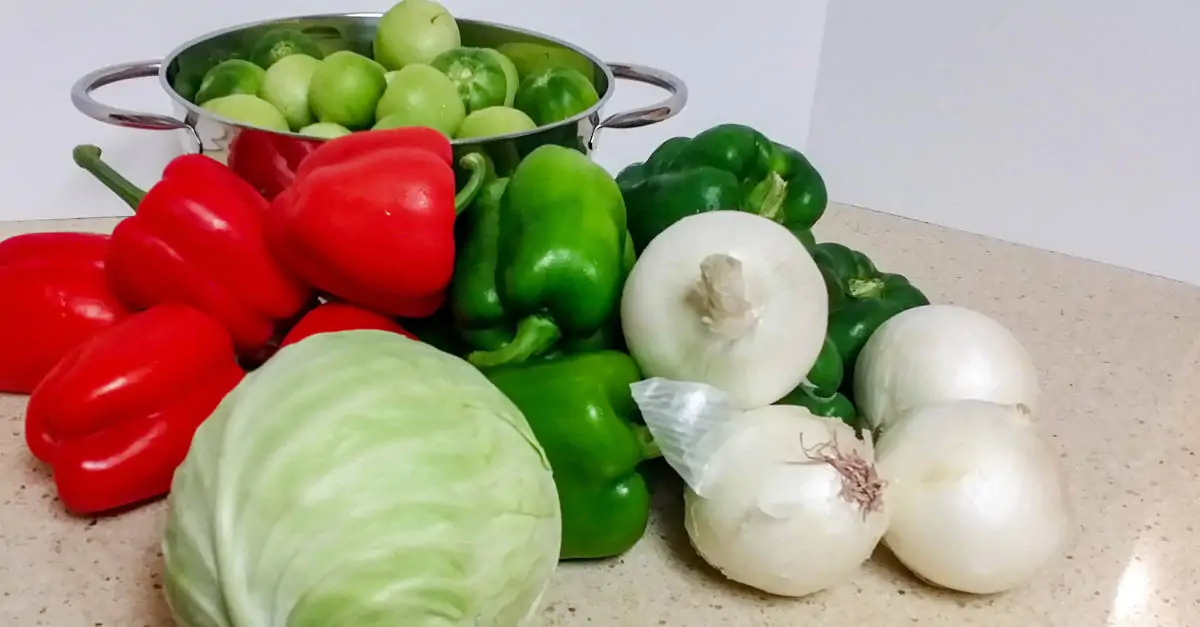
Here’s what you will need:
Sweet Pickle Relish
Ingredients
- 4 cups of coarsely ground onions (I start with 4 and see where I stand and add more as needed)
- 1 med head of cabbage, coarsely ground (about 4 cups)
- 10 green tomatoes, coarsely ground (about 4 cups)
- 12 green bell peppers, coarsely ground
- 6 red bell peppers, coarsely ground
- 1/2 cup sea salt
- 6 cups sugar
- 1 Tbsp celery seed
- 2 Tbsp mustard seed
- 1 1/2 tsp turmeric
- 4 cups apple cider vinegar
- 2 cups water
Equipment
- waterbath canner
- 8 pint or 16 1/2 pint jars
- new lids
- rings/bands
- jar lifter
- lid lifter
- bubble popper
- canning funnel
- old towels
NOTE: The number of jars you will need for this recipe will vary depending on how finely you grind the ingredients.
The finer the grind, the fewer jars you will need.
It’s always best to have 2 or 3 extra jars and lids prepared just in case you need them.
Day 1: Prepping the veggies

all the veggies shredded and ready to mix
All you have to do today is grind up all the vegetables.
At various times, I have used an old hand crank meat grinder, my Kitchenaid mixer with the grinder attachment, and my Ninja food processor.
All of those methods work perfectly fine. Although I have to admit that the food processor is a lot faster.
If you are using a grinder, use the coarse blade.
If you don’t have any of those appliances, that’s ok!
You will need to shred the cabbage and chop it up. Then chop up the rest of the veggies pretty finely.

it’s so pretty all mixed up!
As you grind up the veggies toss them all into a large stoneware or stainless steel bowl.
If you use plastic it will retain the smell, and other metals will react with the acid in the tomatoes.
And that, my friends, is no bueno.
Once it’s all in the bowl, mix it up pretty good. Now sprinkle that 1/2 cup of sea salt evenly over the top of the relish mixture.
You don’t need to mix it in. Just leave it on the top. Cover the bowl with a clean cloth and let it sit overnight.
This step releases a lot of the water that’s in the veggies so you end up with relish instead of soup. 🙂
I typically do this step in the evening after dinner.
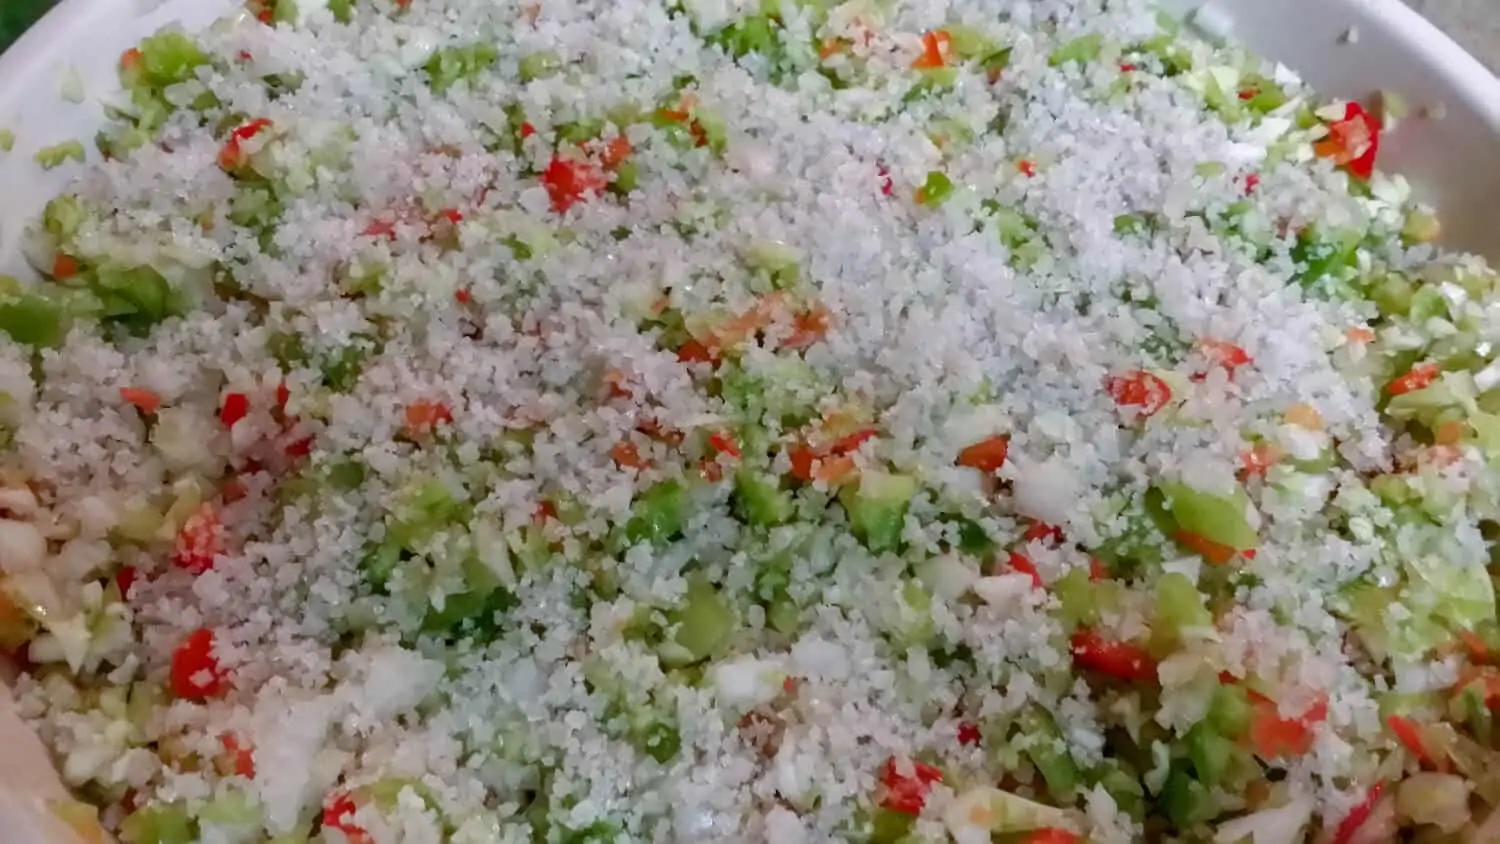
pickle relish veggies covered with a layer of salt
Day 2: Getting it all ready for canning
OK. Breakfast is over, the dishes are all cleaned up, and now it’s time to can the relish.
We’ll start by getting the canner set up and ready to go.
Put your canner on the stove and put the jars you are going to use into it.
Because I use the 1/2 pints jars, the canner rack won’t work. So I use the rack from my pressure canner in the bottom.
If you don’t have one, just put an old towel flat across the bottom of the canner.
Fill all the jars with water all the way to the top.
Now fill the canner with enough water to reach the top of the jars.
This makes sure that there will be enough water in the canner for processing.
Go ahead and turn the heat on to high. It’s gonna take a while to come to a boil. When it does, turn it down to a simmer.
You need to also get your lids ready to go following your manufacture’s instructions. I usually toss the lids and rings into a pan with water to cover and put it on the back burner.
When it comes to a boil I turn it down to low until I’m ready for them.
Alright. The canner is heating up, and the lids are going, so now it’s time to rinse the veggies.
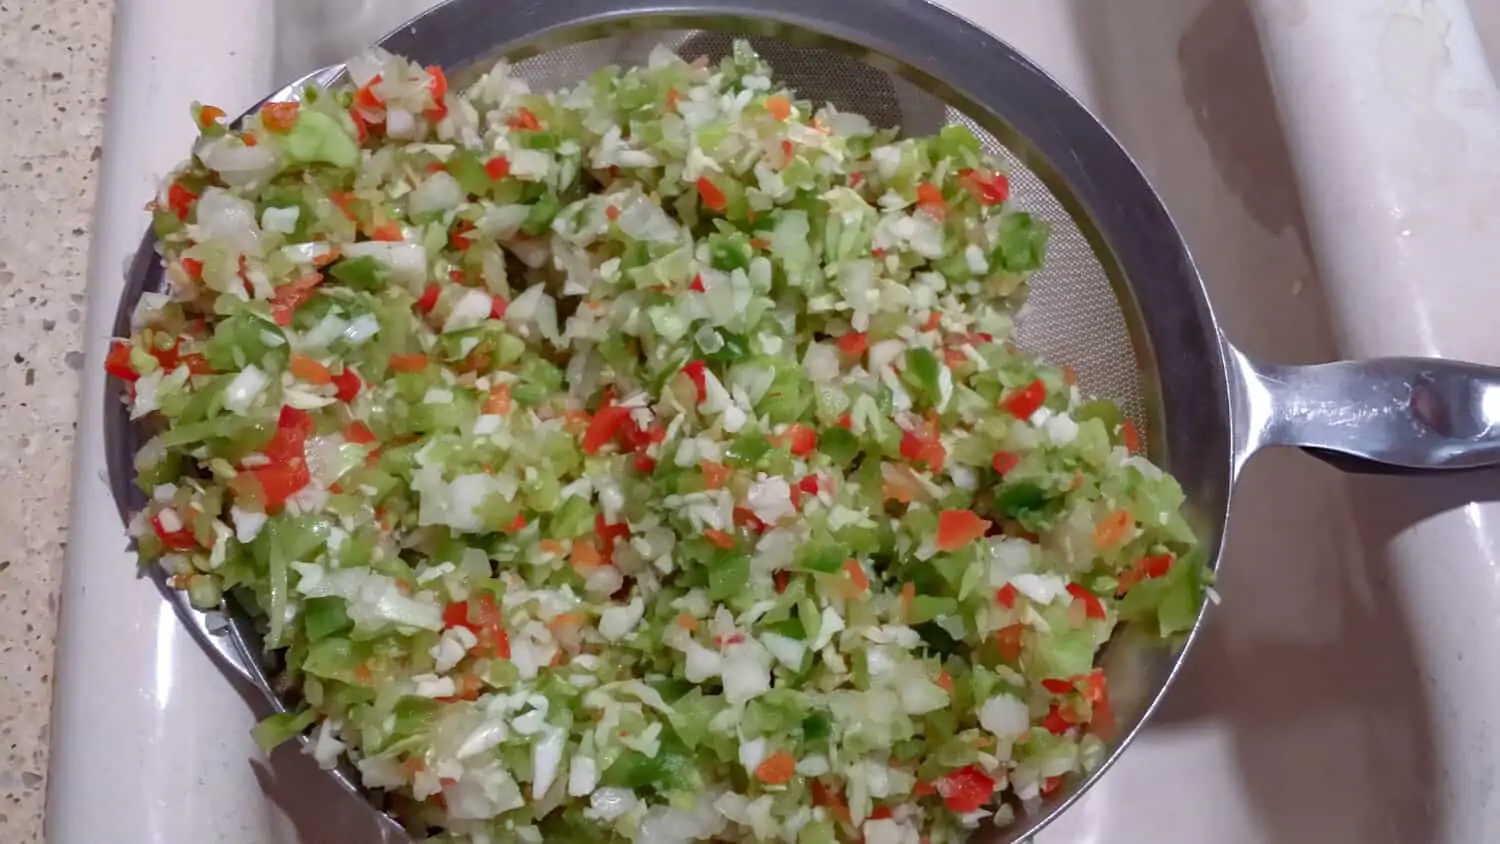
rinsing the pickle relish veggies
Take a large strainer and fill it with the veggie mixture.
Just as an aside, make sure you’re at the sink when you do this next part. So you don’t get salty veggie juice all over the floor…just sayin…
Hold the strainer under the faucet and rinse the salt off the veggies. Swish it around a little bit, then let it drain.
After you rinse a strainer full, and it’s stopped dripping, put the veggie mixture in a large stainless steel pot.
The pot needs to be big enough for all of the veggies, the rest of the ingredients, and have room to bubble up a little as it heats.
Once everything is rinsed off and in the pot, add the remaining ingredients.
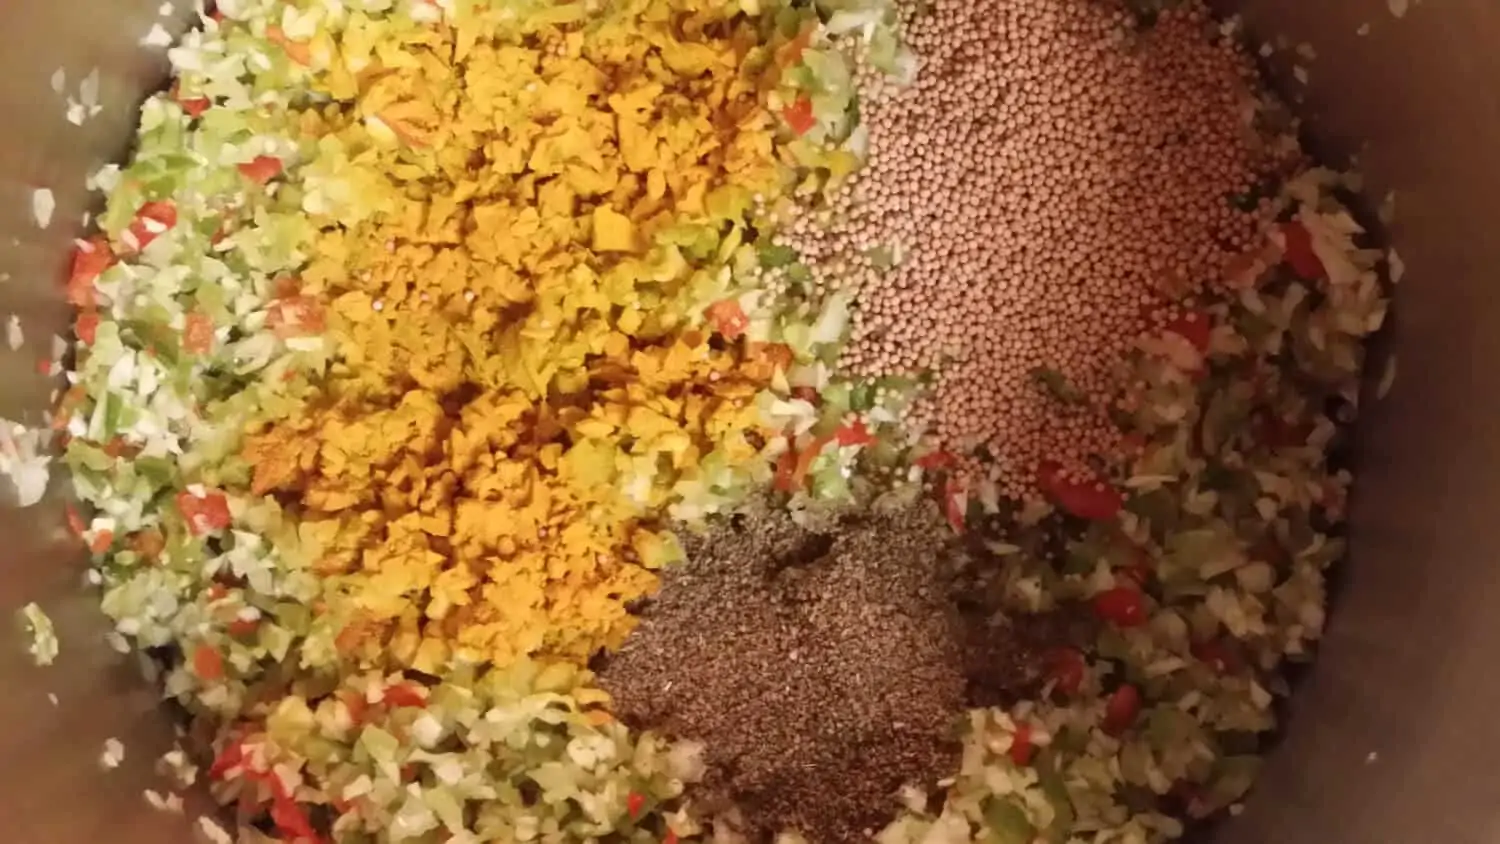
adding the spices to the sweet pickle relish in the pot
Now stir it up really well.
Over medium high heat, bring the sweet pickle relish to a boil. Make sure you stir frequently so it doesn’t stick or scorch.
Once the relish is at a boil, turn the heat down and simmer for 3 minutes. Then turn the heat off.
Canning the Sweet Pickle Relish
Carefully remove the jars from the canner with a jar lifter, pouring the water back into the canner.
Fill each jar with the hot pickle relish leaving a 1/4 inch headspace.
Use a bubble popper or a thin knife to remove any air bubbles from the jars and top it off if needed to reach that 1/4 inch of headspace.
Using a clean cloth dipped in vinegar (vinegar cuts through the sugar), wipe the rims of the jars to make sure there is no residue.
Now put the lids on the jars and add the rings/bands. Only tighten the rings finger tight.
If the rings are too tight, the air won’t be able to escape, the lids will buckle, and the jars won’t seal. Which would be a terrible waste!
And now carefully put the filled jars back into the canner.
Turn the heat to high and bring the water to a full rolling boil.
When you have a good boil going, start your timer.
For this recipe, pints and half pints both need to process for 15 minutes.
Don’t forget to adjust the processing time for your altitude using this chart.
When the processing time is up, turn off the heat.
Remove the jars from the canner making sure you lift them straight up and out.
The jars haven’t sealed yet, so tilting them will make them leak and they may not seal.
OR you could leave the jars in the canner until they have cooled enough to seal, and them take them out. But that can take quite a while.
Either way, after you remove the jars put them on a cabinet or table covered with a double layer of towels.
Leave the jars undisturbed for a minimum of 12 hours. The jars will still be hot for a while, so make sure they aren’t in the way.
After 12 hours, check the seals.
Any unsealed jars should be put in the fridge. Sealed jars should be wiped down and labeled and dated.
Storing Sweet Pickle Relish
The relish should be stored in a cool, dry, dark place. In the right storage conditions, it will last for several years.
So now you have Grandma’s super secret Sweet Pickle Relish recipe. May all your deviled eggs taste divine! 🙂
Blessings!
Other canning recipes you should try:


Leave a Reply