
If you have never encountered no-knead bucket dough before, this is gonna change your life!
It’s so easy you’ll be making fresh bread for your family every day.
Basically, you mix up a big batch of dough and let it rise then put it in the fridge.
No kneading.
Nada.
Zilch.
Really.
The dough will last about 2 weeks in the fridge, and you just take out the amount you want a time and bake it. It’s awesome!
There are several recipes on line and they are all basically the same. I added some whole wheat flour to the recipe I use.
That makes it a great recipe to use if you are trying to get your family to eat more whole wheat.
And you get to make whatever kind of bread you want with it!
I just love all the options you get with bucket dough!

Whole Wheat No-Knead Bucket Dough
- 3 cups of warm (not hot) filtered water
- 2 packets of yeast OR 1 1/2 Tbsp bulk yeast
- 1 1/2 Tbsp sea salt
- 1 1/2 cups organic whole wheat flour
- 5 cups organic unbleached white flour
In a 5 quart bowl or lidded food grade container mix all the ingredients except water. I use this dough bucket![]() that has measurements on the side so you can see how much it rises.
that has measurements on the side so you can see how much it rises.
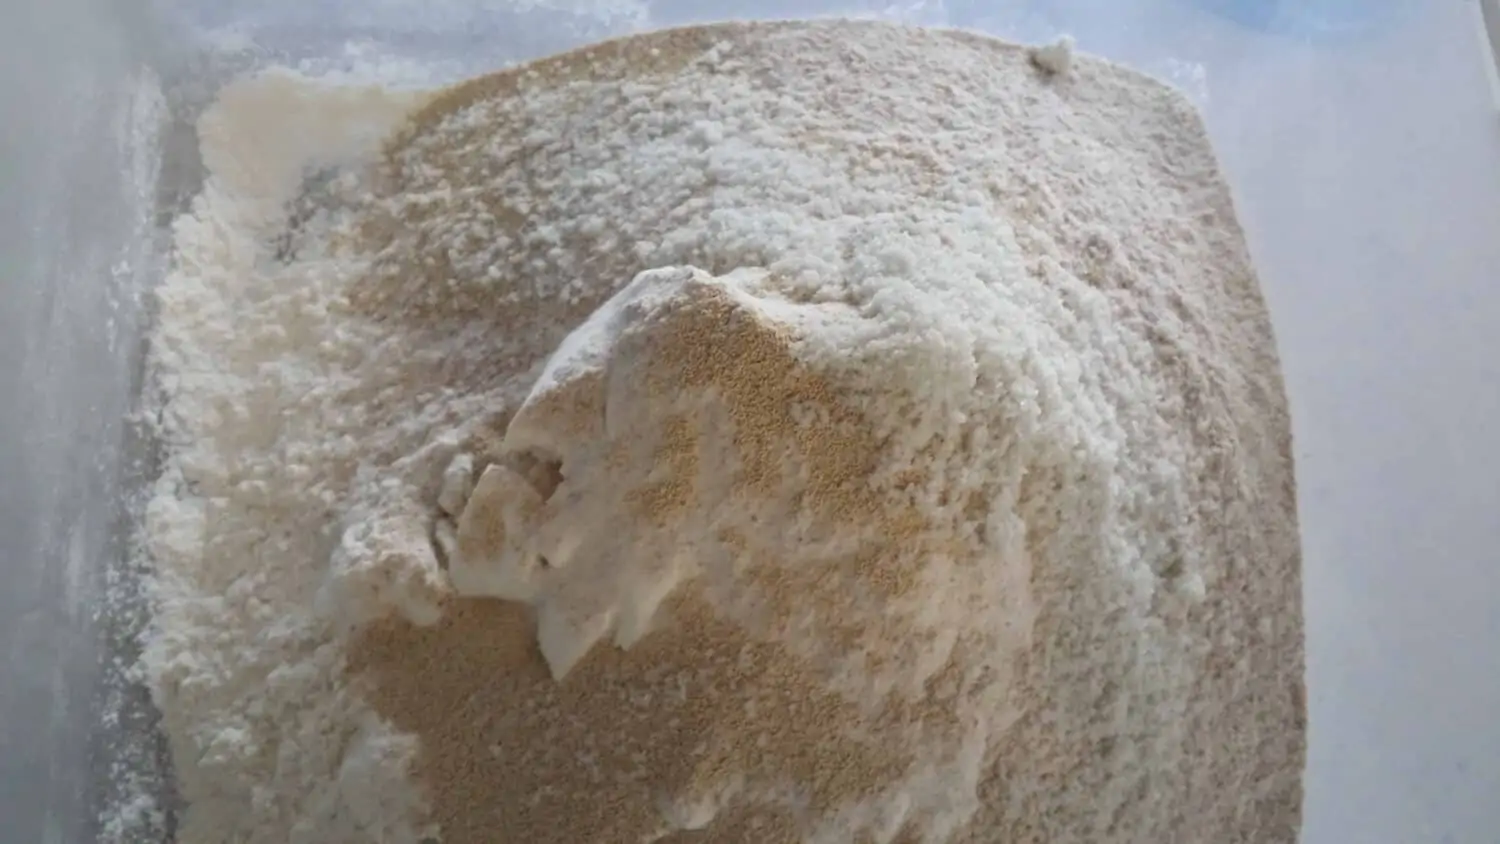
dry stuff in the bucket
Now add the warm water and mix thoroughly. I use this really cool Danish dough whisk.![]()
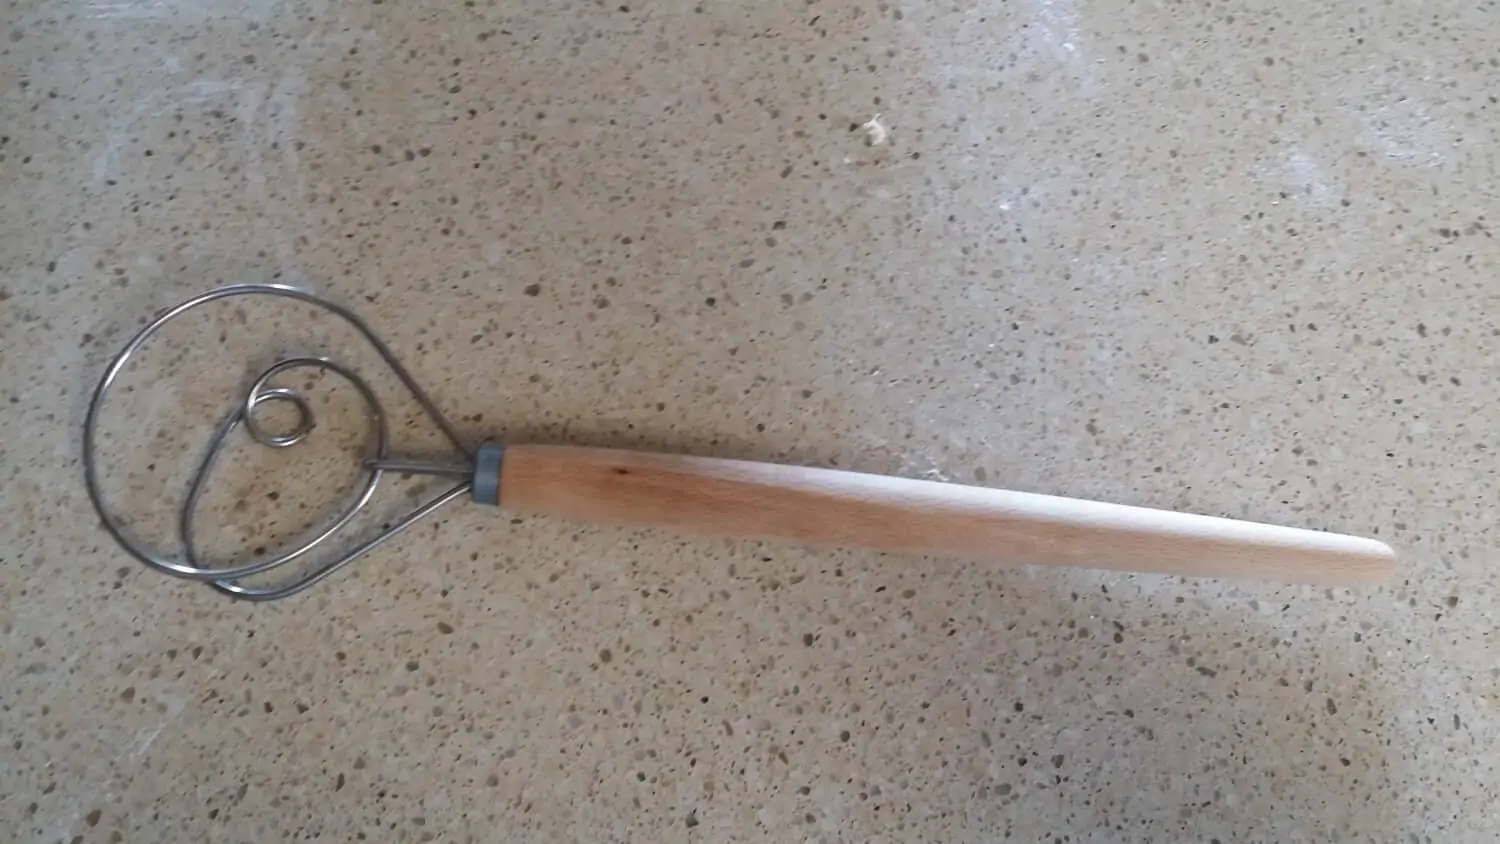
really cool Danish dough whisk
But to make sure that I get it all mixed, I usually end up with my hands in the bucket. 🙂
It’s kinda like play dough for big people.

dough all mixed up
After it’s all mixed, you need to cover the container, but make sure it’s not airtight.
If you are using a bowl, use plastic wrap but pull up one corner.
I actually put a small hole in the lid to my bucket. I cover it with a piece of tape if I need it airtight.
Now you’re going to let the dough rise and then fall again at room temperature. That should take about 2 hours, depending on the temp of your kitchen.
After the no-knead bucket dough has deflated, you can actually use it now or you can wait until after it’s been chilled.
I have found that it’s easier to work with after about 8 hours in the fridge.
But you can use it now if you want to.
Forming the bread
When you want to make some bread, take the dough our of the fridge (or off of the table if you haven’t let it chill out), and sprinkle some flour over the top of the dough.
Guess you should uncover the dough first, though. 🙂
The flour keeps it from sticking to your hands.
Take out about 1/4 of the dough for a full loaf.
Shape the dough into what ever you want it to be. If it starts to stick to you, sprinkle it with some more flour.

all loaf like
Put your happy shape on a cookie sheet covered with a handful of corn meal, or on a piece of parchment paper.
Now you need to let the dough rest for about 40 minutes to rise.
About half way through the rising time, put a baking stone in the oven and preheat it to 450° F.
If you don’t have a baking stone you can use an upside down cookie sheet.
Place another pan in the bottom of the oven and let it heat as well.
Baking the Bread
When it’s time to bake the bread, cut a slash or 2 on the top with a sharp, serrated knife or bakers’ lame![]() . This lets the bread expand faster in the oven.
. This lets the bread expand faster in the oven.

with room to expand
Slide the loaf onto the hot baking stone or cookie sheet.
Now throw about a cup of warm water into the pan in the bottom and close the door fast. That steam will give it that great crunchy crust.
Bake the bread for about 35 minutes.
It should be pretty dark brown and it should sound hollow when you thump the loaf on the bottom.
The cooking time is going to depend on the shape and size of your particular creation.
So, watch it after about 20 minutes if it’s something small.
Cuz none of us want your fire alarm going off. 🙂
When the bread is brown and has been thoroughly thumped, put it on a cooling rack.

cooling off
So it can cool.
It slices better after it’s cool.
But it tastes so good straight from the oven.
The struggle is real…
This no-knead bucket dough is so great because you can make French loaves, or bread bowls, or rolls, or hamburger buns, or even pita bread. Or whatever strikes your fancy on any particular day.
And if you don’t think you’ll be able to use it all, you can just throw it into the freezer after you’ve shaped it.
You can also cut the recipe down, or ramp it up if you want.
I have tripled the recipe before with no problem.
Made a LOT of bread bowls that week. 🙂
What is your favorite bread shape?
Blessings!
More bread recipes you should try:


Whole Wheat No-Knead Bucket Dough
Ingredients
- 3 cups of warm not hot filtered water
- 2 packets of yeast OR 1 1/2 Tbsp bulk yeast
- 1 1/2 Tbsp sea salt
- 1 1/2 cups organic whole wheat flour
- 5 cups organic unbleached white flour
Instructions
- In a 5 quart bowl or lidded food grade container mix all the ingredients except water. Now add the warm water and mix thoroughly.
- After it's all mixed, you need to cover the container, but make sure it's not airtight.
- If you are using a bowl, use plastic wrap but pull up one corner.
- Now you're going to let the dough rise and then fall again at room temperature. That should take about 2 hours, depending on the temp of your kitchen.
- After it's fallen, put in refrigerator and chill for 8 hours or overnight before using.
- When you want to make some bread, take the dough our of the fridge and sprinkle some flour over the top of the dough.
- Take out about 1/4 of the dough for a full loaf.
- Shape the dough into whatever you want it to be. If it starts to stick to you, sprinkle it with some more flour.
- Put your bread on a cookie sheet covered with a handful of corn meal, or on a piece of parchment paper.
- Now you need to let the dough rest for about 40 minutes to rise.
- About half way through the rising time, put a baking stone in the oven and preheat it to 450° F.
- If you don't have a baking stone you can use an upside down cookie sheet.
- Place another pan in the bottom of the oven for water and let it heat as well.
- When it's time to bake the bread, cut a slash or 2 on the top with a sharp, serrated knife.
- Slide the loaf onto the hot baking stone or cookie sheet.
- Add a cup of warm water into the pan in the bottom and close the door fast. That steam will give it that great crunchy crust.
- Bake the bread for about 35 minutes. The cooking time is going to depend on the shape and size that you chose.
- It should be pretty dark brown and it should sound hollow when you thump the loaf on the bottom.
- After baking, put it on a cooling rack. Allow to cool completely before slicing.
Notes
And if you don't think you'll be able to use it all, you can just throw it into the freezer after you've shaped it.
You can also cut the recipe down, or ramp it up if you want.
I have tripled the recipe before with no problem.
Nutrition
Leave a Reply